Contents
Local Services
The Local Services section manages some load balancer services like HTTP, web GUI services, SSH for maintenance, clustering replication services, and SNMP monitoring services.
Every change in this section has to be applied by clicking on the Apply button. Use the Revert Changes button in order to discard the modifications made in the form and revert back the previous applied configuration.
HTTP Web GUI Service
This service is used for administrative and operational management purposes. The HTTP service is where the web GUI will be delivered.
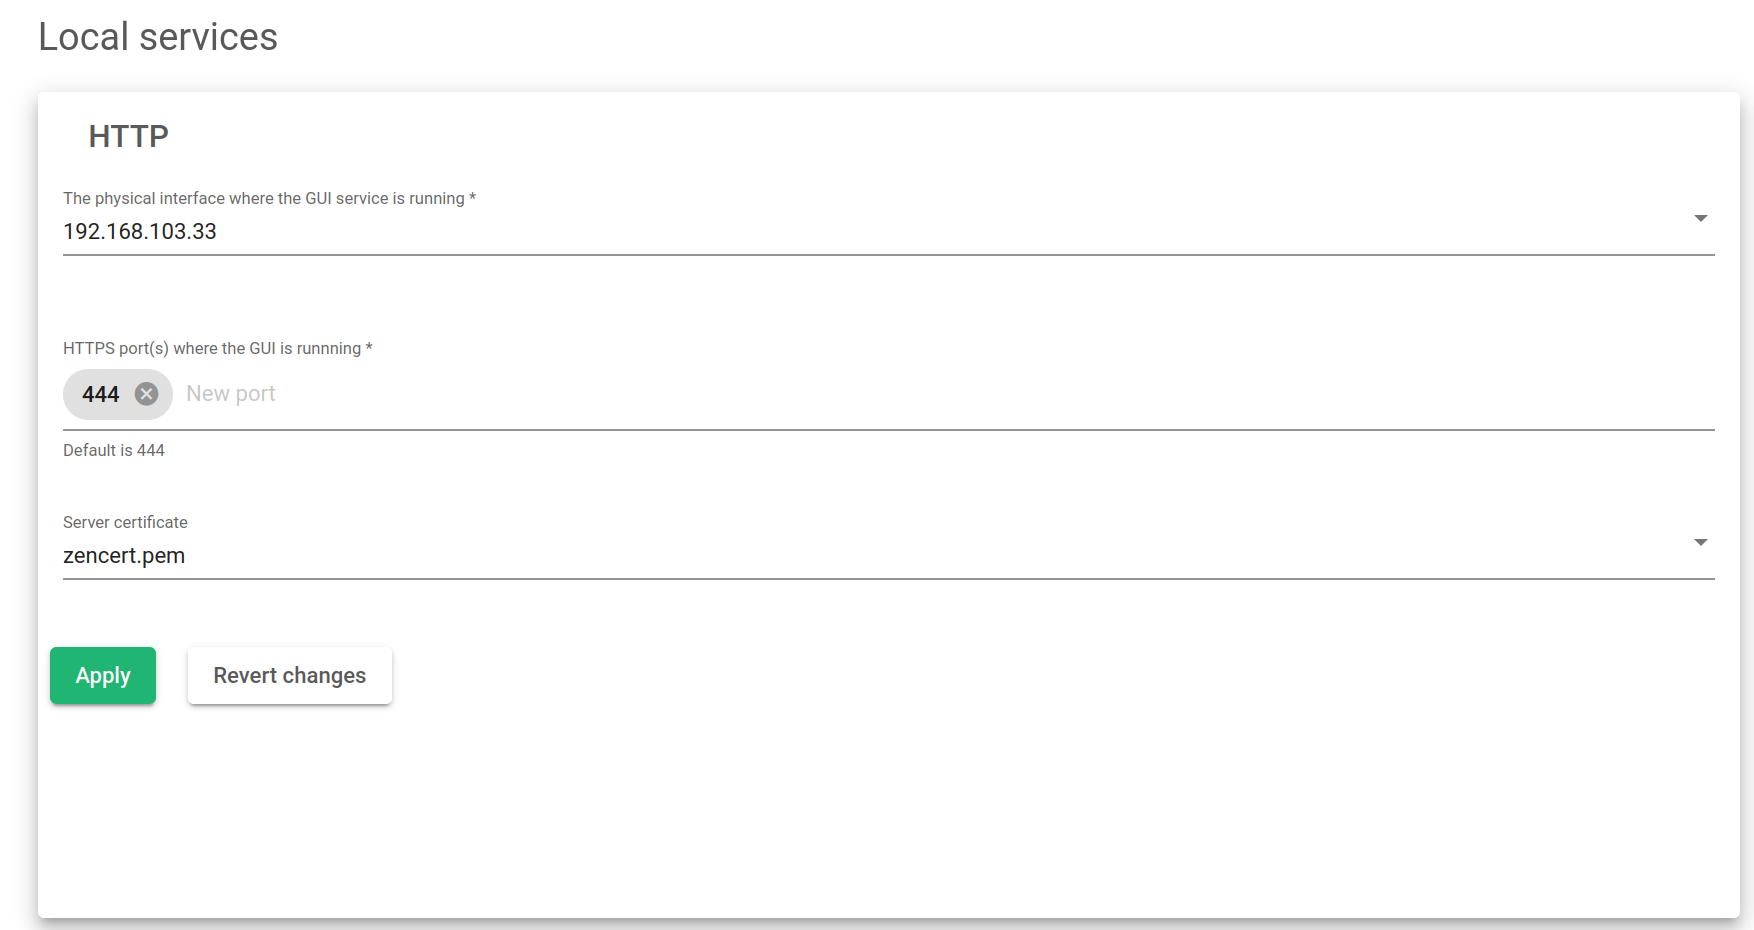
The physical interface where the GUI service is running. This is the interface where the web panel service is bound to all the physical, bonding, and VLAN interfaces configured in the load balancer. Note: Virtual and floating interfaces are not recommended.
HTTPS Port where the GUI service is running. Port used by the web GUI service for administrative and operational purposes. The default port is 444.
Server Certificate.This is the authentication certificate that shows a user has permission to use ZEVENET appliances.
Once you press the Apply button, you will have to confirm the changes in a popup that shows up.
SSH Management Service
This service is used to maintain and cluster replication purposes. It allows the load balancer to be accessed through the command line remotely.
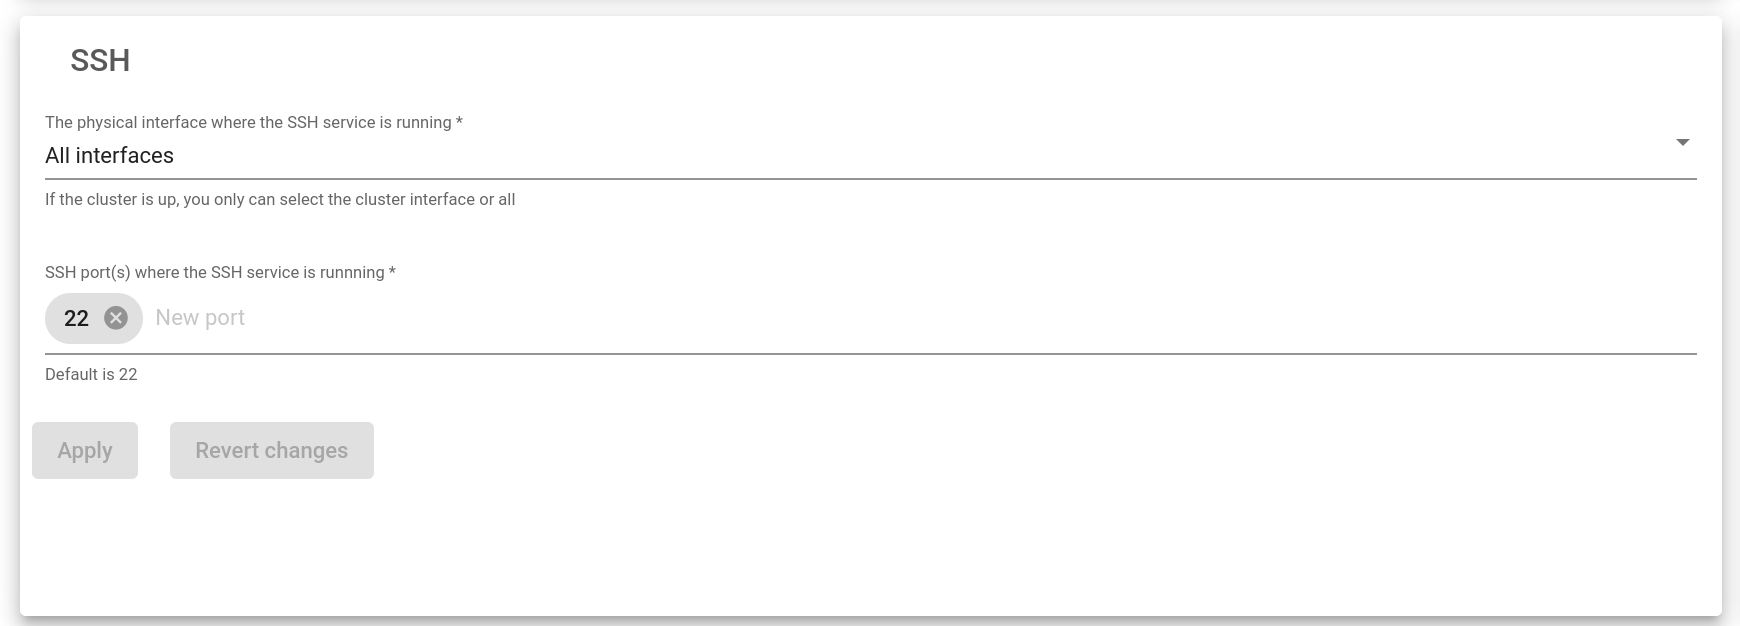
The physical interface where the SSH service is running. This is the interface where the SSH service will be bound among all the NIC, bonding, and VLAN interfaces configured in the load balancer. Virtual and floating interfaces are not recommended.
SSH Port(s) where the SSH is running. This is the port used by SSH services. The default port is 22.
Once you press the Apply button, changes on the Interface and the Port will be applied. The SSH service will be restarted.
SNMP Monitoring Service
This service is used by the system for load balance monitoring purposes to be integrated into a centralized SIEM platform.
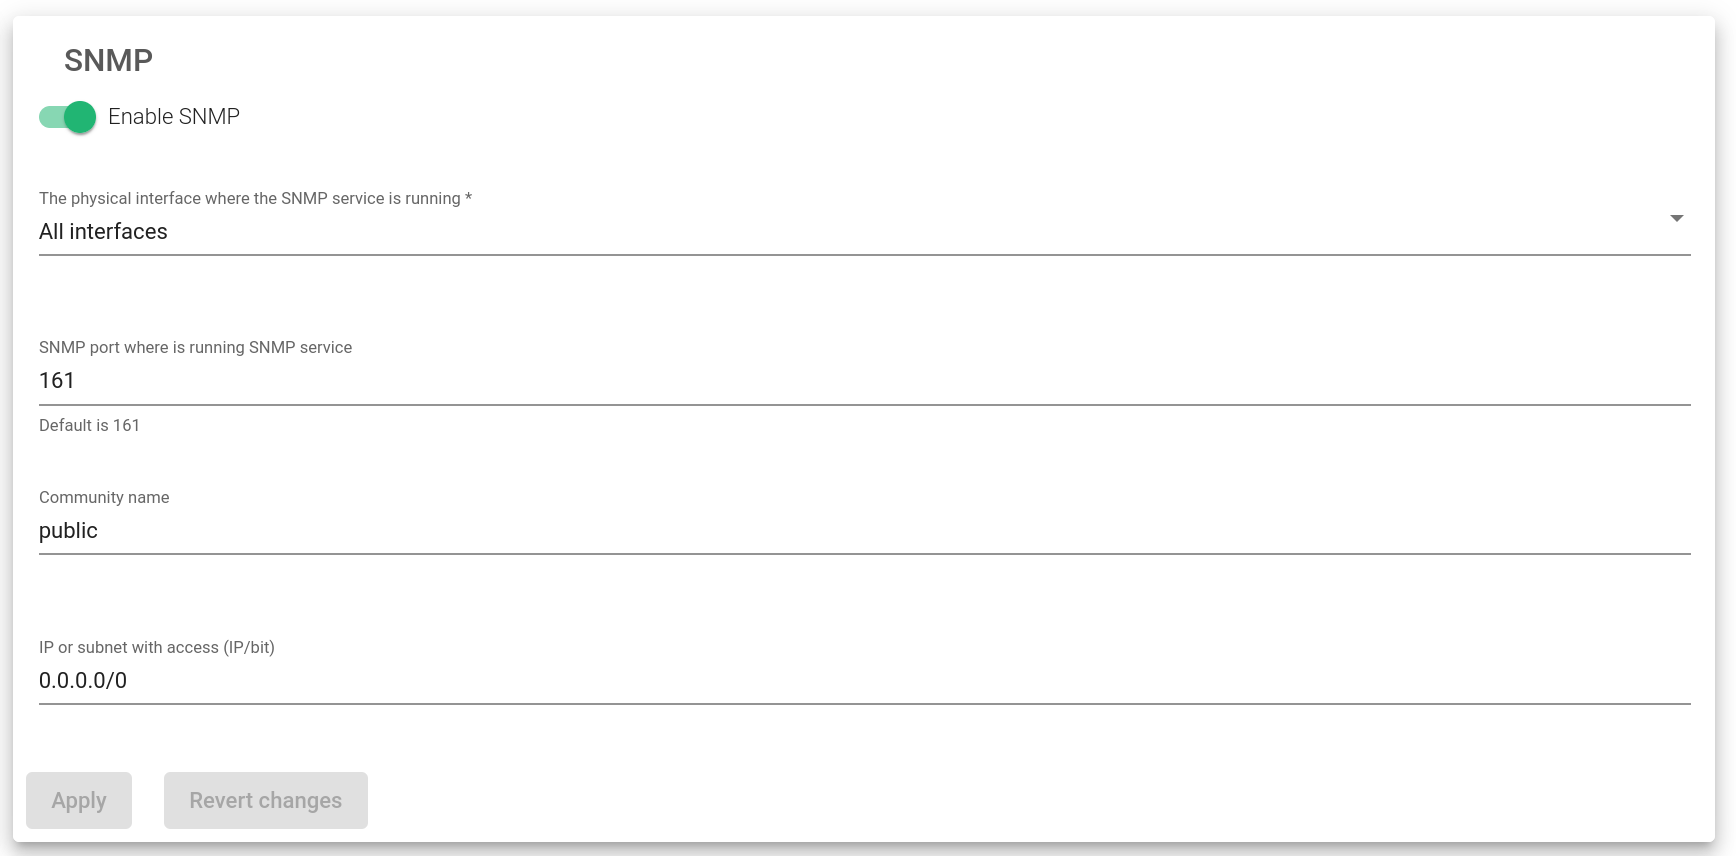
Enable SNMP. To enable or disable the SNMP service. It’ll be disabled by default.
Physical interface where the SNMP service is running. Interface where the SNMP service will be running.
SNMP Port where is running SNMP service. Port where the SNMP service will be listening from. By default, port 161 will be used.
Community name. The read-only community name to be used. By default, the community name public will be used.
IP or subnet with access (IP/bit). Clients’ subnets or addresses are allowed to access the SNMP service. In case you want to allow access only from one IP address, please use the netmask bit /32.
The Apply button will automatically apply all the changes to the SNMP service.
To know more about SNMP, look out our article Understanding SNMP in a SIEM environment and Monitoring ZEVENET Appliance.
Rsyslog Logging Service

IP/Hostname. The name of the Rsyslog host.
Port. The port through which to send the log files.
Protocol. The transmission protocol to be used. The transmission should either be UDP or TCP.
The Apply button will automatically apply all the changes to the Rsyslog service.
Global Services
These services are used to modify a given system to adapt any load balancer to the client’s needs. Those behaviors have been described after the image below:

Enable session replication. If a farm is configured with persistence, the system will replicate the session tables to the backup node. In case the Master node fails in the cluster, then the new Master will continue with the sessions and the user will not be required to create a new one again. This feature is part of the Stateful Cluster. It is enabled by default.
Enabled duplicated network. ZEVENET Routing system doesn’t support configuring the same network in more than one interface. However, this option allows the establishment of the same network twice. Disabling this option ensures that the traffic won’t generate asymmetric routes. It is disabled by default.
Enable ARP announce. In each cluster switch, an ARP announcement is executed to announce to the network the MAC changes. If this option is enabled, an ARP announcement to the network is done each minute. This is also disabled by default.
Use proxy of new generation. Since ZEVENET 6.1, the HTTP(S) profile is managed by a new binary called zproxy with new features that are faster than its predecessor. If disabled, then the previous HTTP implementation will be used.
Enable WAF assistant. Enables a firewall interface to protect and monitor the HTTP protocol.
After, click the Apply button. It will automatically apply all the changes to the Global services.
Remote Services
The Remote Services section manages some external services needed by the load balancer like the DNS for resolving network names, NTP to have the system clock synchronized, and the Proxy service. This allows the load balancer to use an external proxy for internal services.
Every change in this section must be applied by clicking on the Apply button. Use the Revert Changes button in order to discard the modifications made in the form and revert back the previous applied configuration.
DNS Service
The Domain Name System service is used to resolve domain names to obtain their network addresses. Servers configured for DNS resolution will be stored in the system file /etc/resolve.conf.
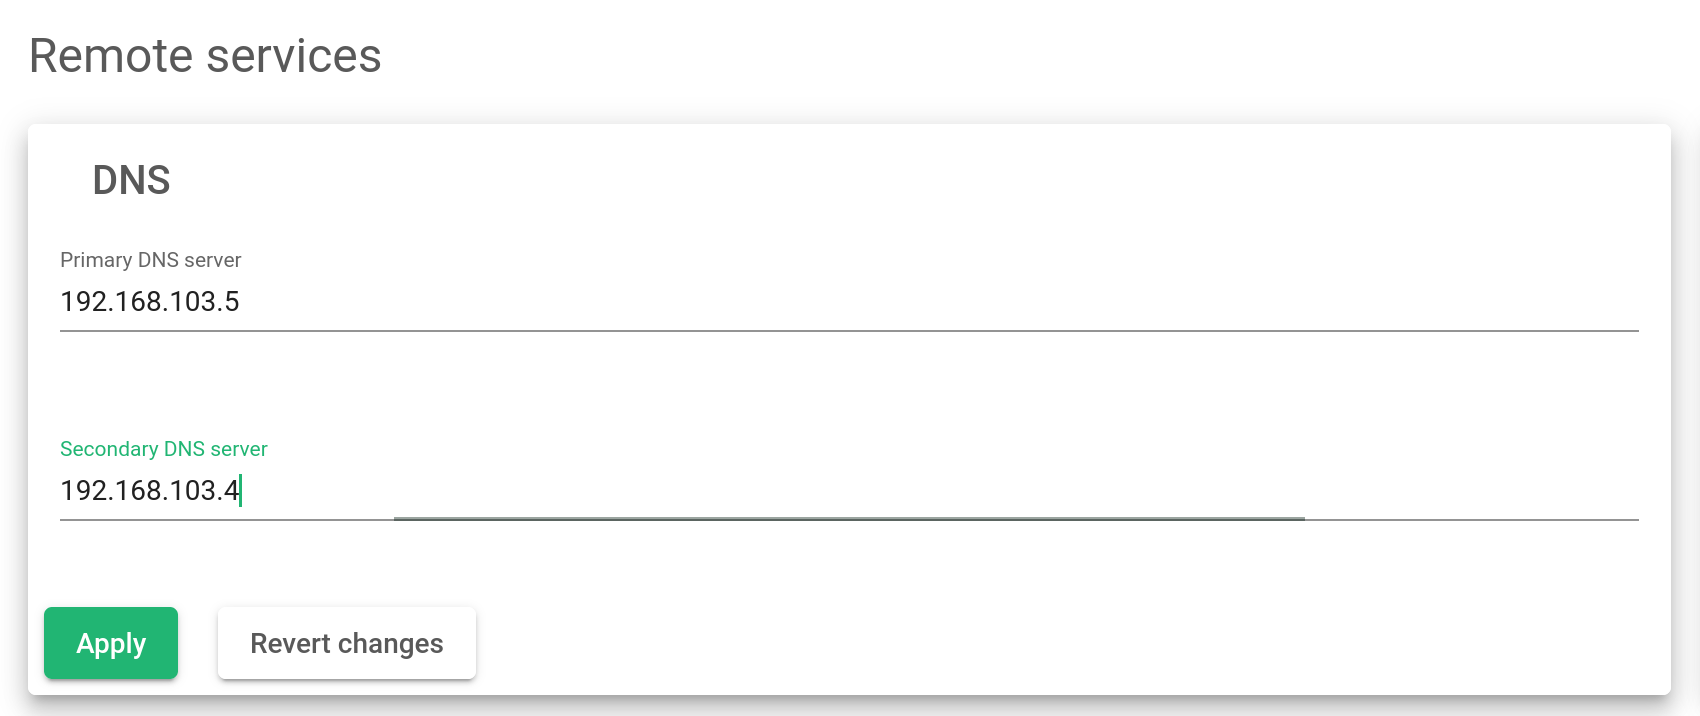
Primary Server. The IP address of the primary name server. The default value will be 8.8.8.8.
Secondary Server. The IP address of the secondary name server. This value is optional and it is blank by default.
NTP service
This service is used to synchronize the load balancer’s system date and time clock.

NTP Server. The server IP address or domain name to which the load balancer connects to synchronize the system date and time. The default value will be pool.ntp.org.
Proxy Service
This service is intended to allow the load balancer access to the Internet through a remote proxy. Some services like updates use this option if configured.
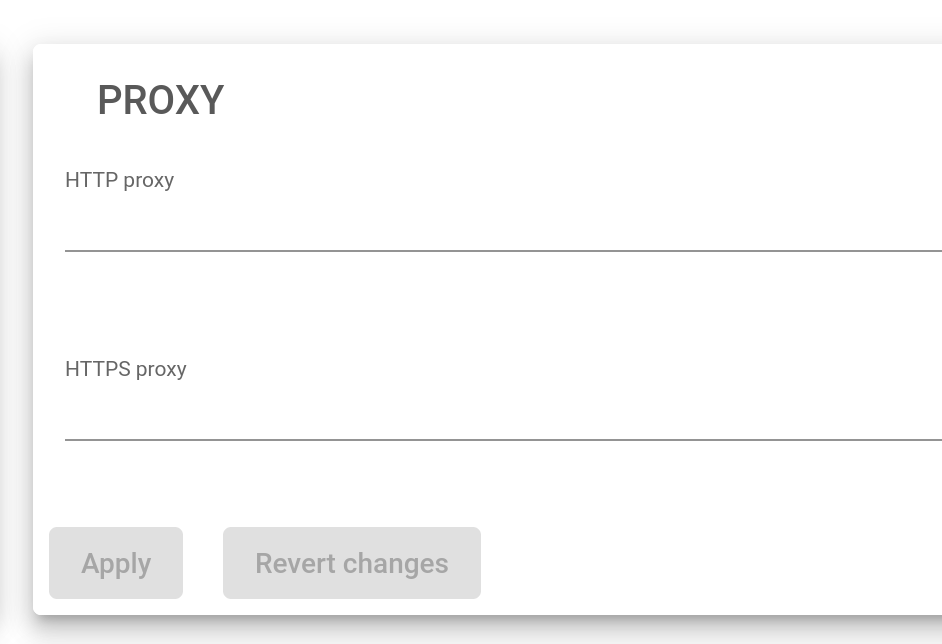
HTTP Proxy. If you want to use an HTTP proxy for HTTP requests, define the full URL of an HTTP proxy, i.e. http://myproxy:80.
HTTPS Proxy. If you want to use an HTTPS proxy for HTTPS requests, define the full URL of an HTTPS proxy, i.e. http://myproxy:443.
Let’s Encrypt
This certificate proves a server’s authenticity and provides secure lines of data transmission through data encryption.
Read more about Let’s encrypt.
Email. Notification email for Let’s Encrypt service management.