OVERVIEW
Zen Load Balancer has the property to act as a SSL terminator for some profiles. This is called SSL Offload. That means that you have to load SSL certificates in the load balancer to associate it to a Farm. In this document we are going to describe the complete cycle to generate a Certificate Signing Request, how to use that CSR to get a certificate and how to load it in the Zen Load Balancer to apply to the desired Farm.
CREATE CSR
The first step to get a certificate is generate a Certificate Signing Request. That is a piece of encrypted code with all the necesary information to generate your site certificate. Follow the next instructions to get it:
- Launch the Zen Load Balancer web GUI.
- Under Manage menu, select Certificates.
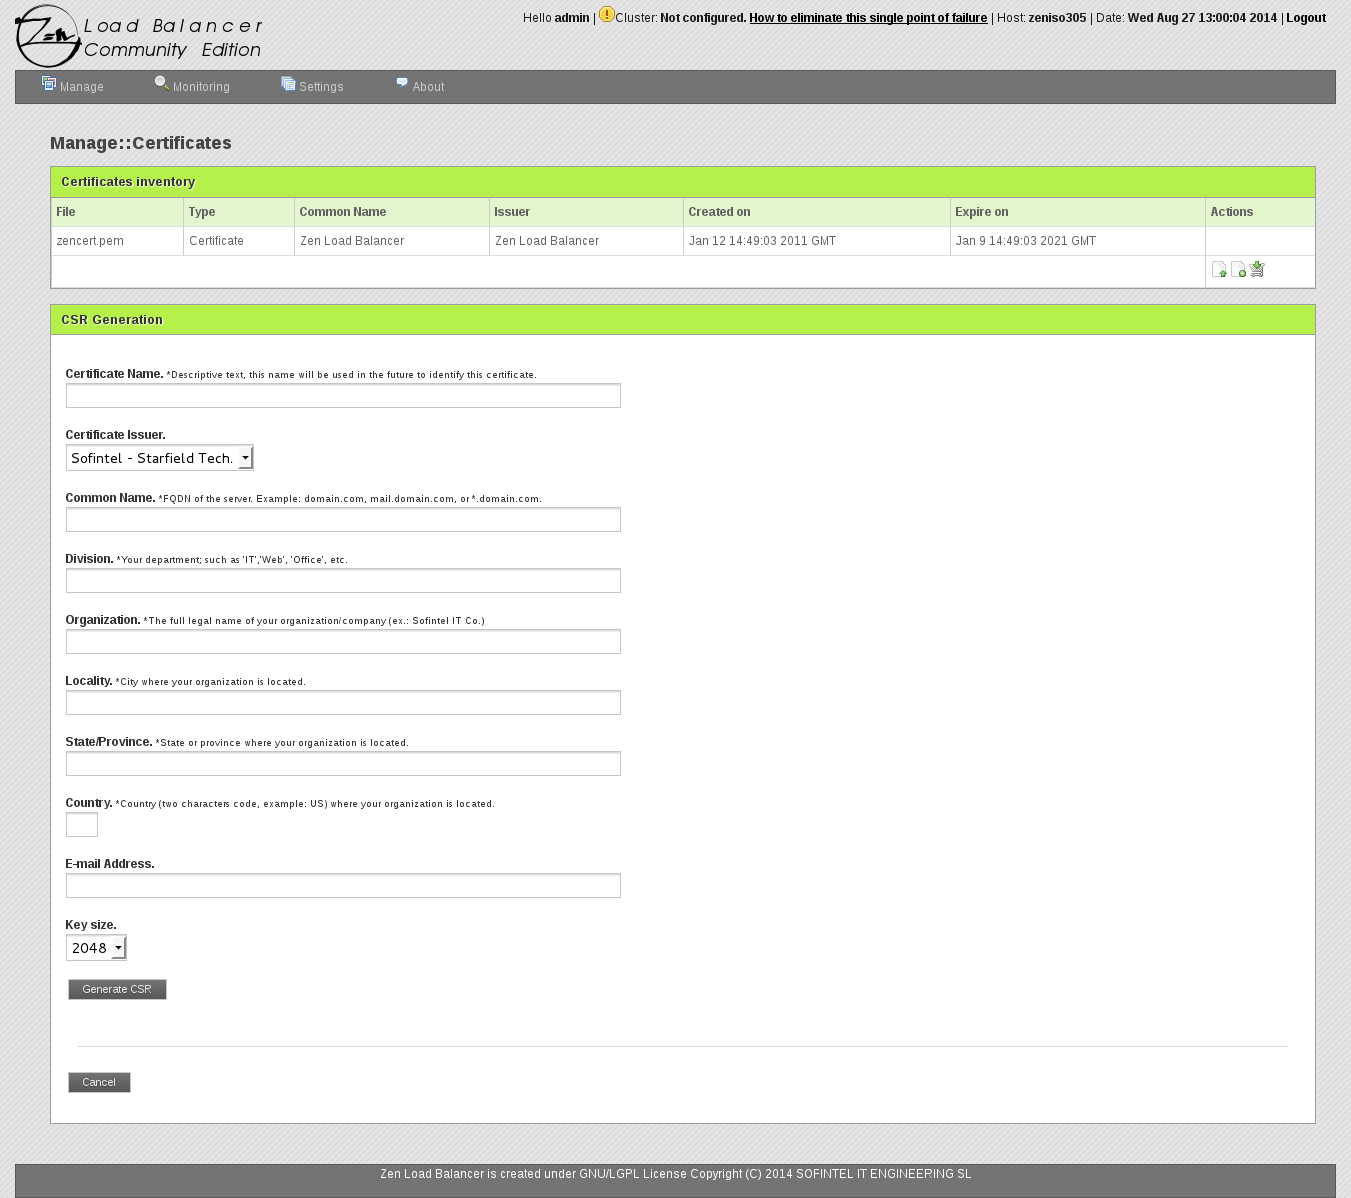
- At the bottom of the Certificates Inventory table, select Create CSR.
- Under the CSR Generation form, enter the following information:
- Certificate Name: Give your certificate a name to identify it in the future. Example: ZLBSSL, Zen-SSL, ZLB-certificate, etc.
- Certificate Issuer: Sofintel – Starfiel Tech.
- Common Name: FQDN of the server. Example: domain.com, mail.domain.com, or *.domain.com.
- Division: Your department; such as ‘IT’,’Web’, ‘Office’, etc.
- Organization: The full legal name of your organization/company. Example: Sofintel IT Co.
- Locality: City where your organization is located.
- State/Province: State or province where your organization is located.
- Country: Country (two characters code, example: US) where your organization is located.
- E-mail Address: Your email.
- Key size: 2048.
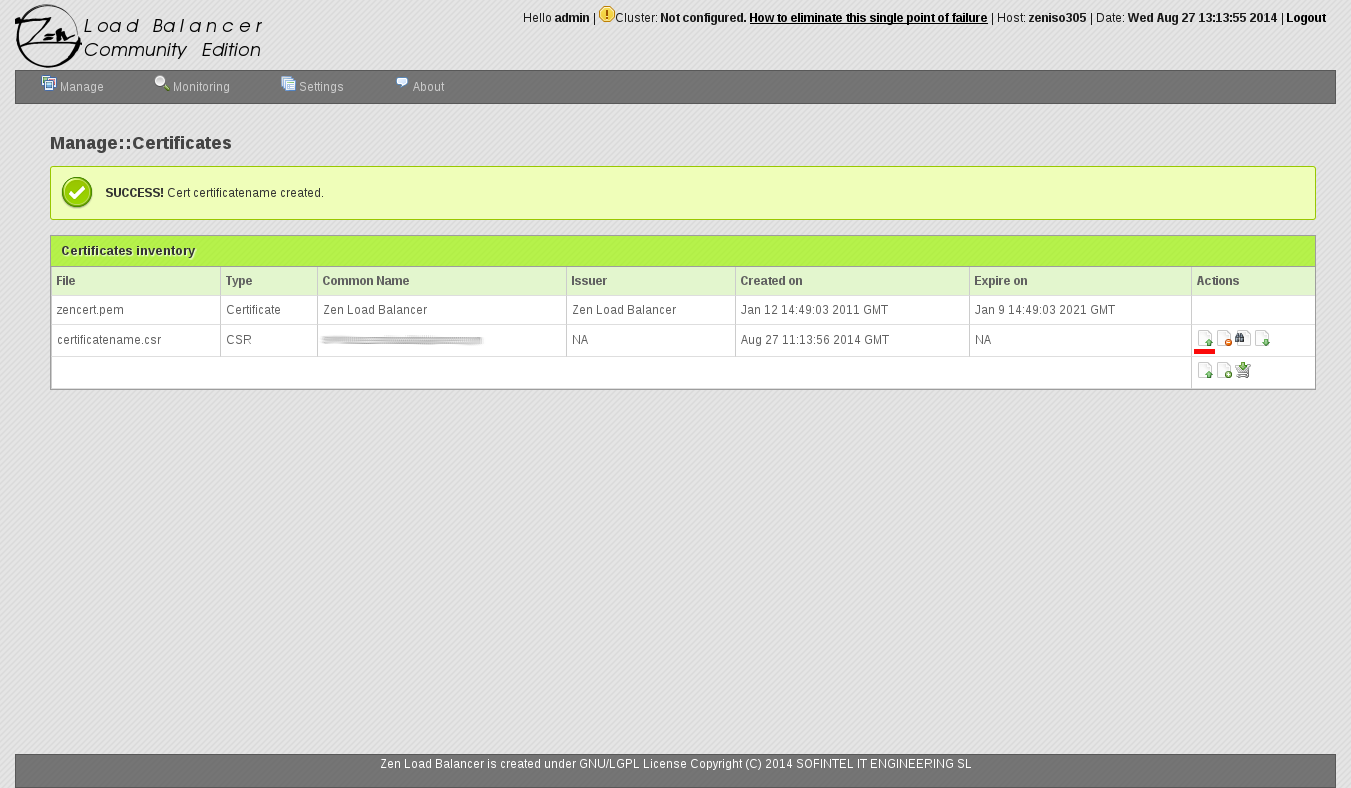
- At the bottom of the form click the Generate CSR button.
A new CSR should now be viewed in the Certificates Inventory table. Now you have to click on the View CSR button, that is located at the right of the CSR row in the table.
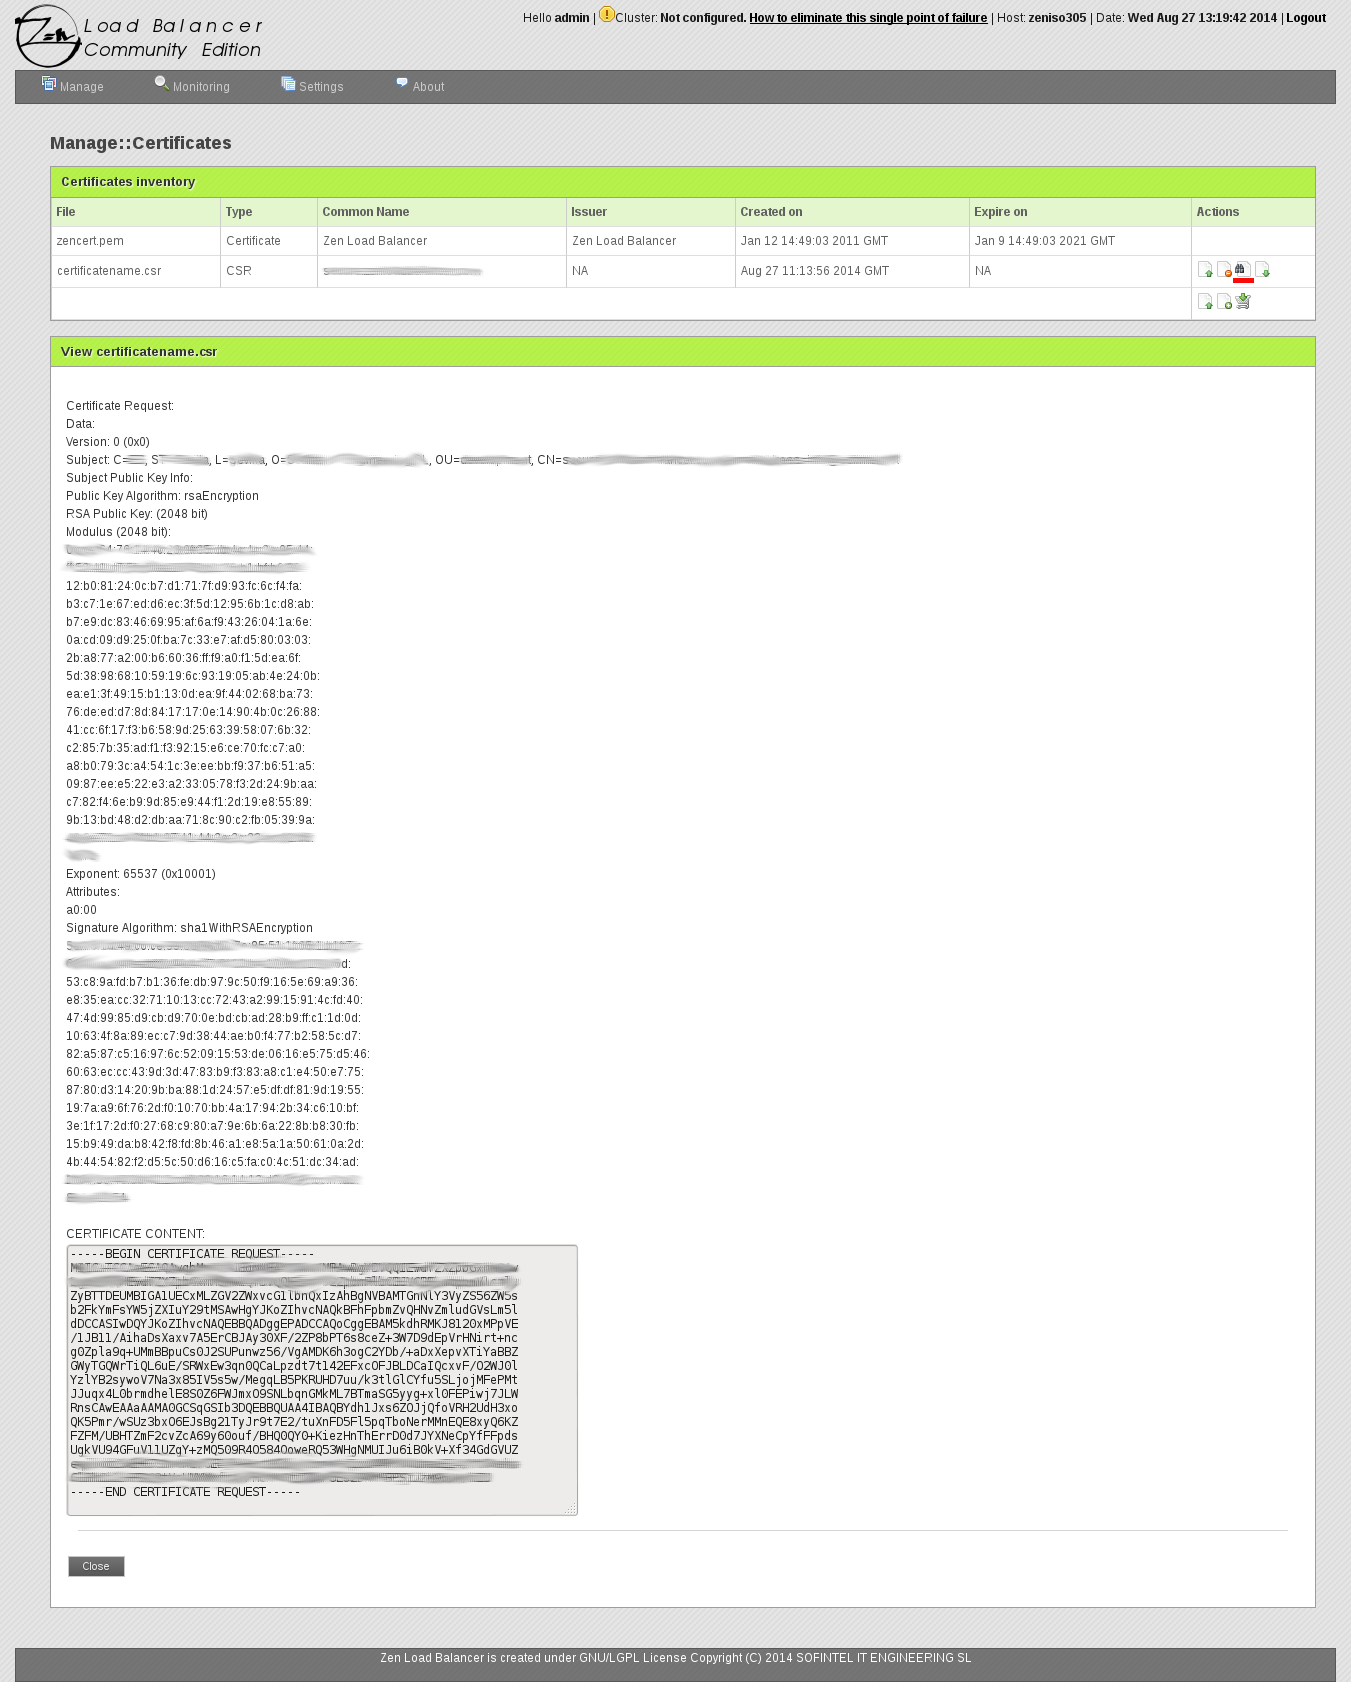
A new box with the properties of the CSR is shown. At the bottom of this box you can find a text area with the content of the CSR. This will be necessary in the next section to fill the Starfield Technologies Wizard, so copy the content when required.
GET A CERTIFICATE FROM YOUR CSR
If you have created your CSR, now you have to download or copy its content and ask for a certificate to your provider with this information. We are going to view an example for ecommerce.sofintel.net (a Starfield Technologies supplier) certificate. The certificates provided by ecommerce.sofintel.net are fully integrated with Zen Load Balancer, so you don’t need to convert or change any part of the files supplied, so you can upload it directly.
The instructions to get a certificate from ecommerce.sofintel.net are:
ACCESS TO ON-LINE SHOP
- Launch the Zen Load Balancer web GUI.
- Under Manage menu, select Certificates.
- At the bottom of the Certificates Inventory table, select Buy SSL Certificate. This will redirect you to the ecommerce.sofintel.net portal.

BUY A SSL CERTIFICATE
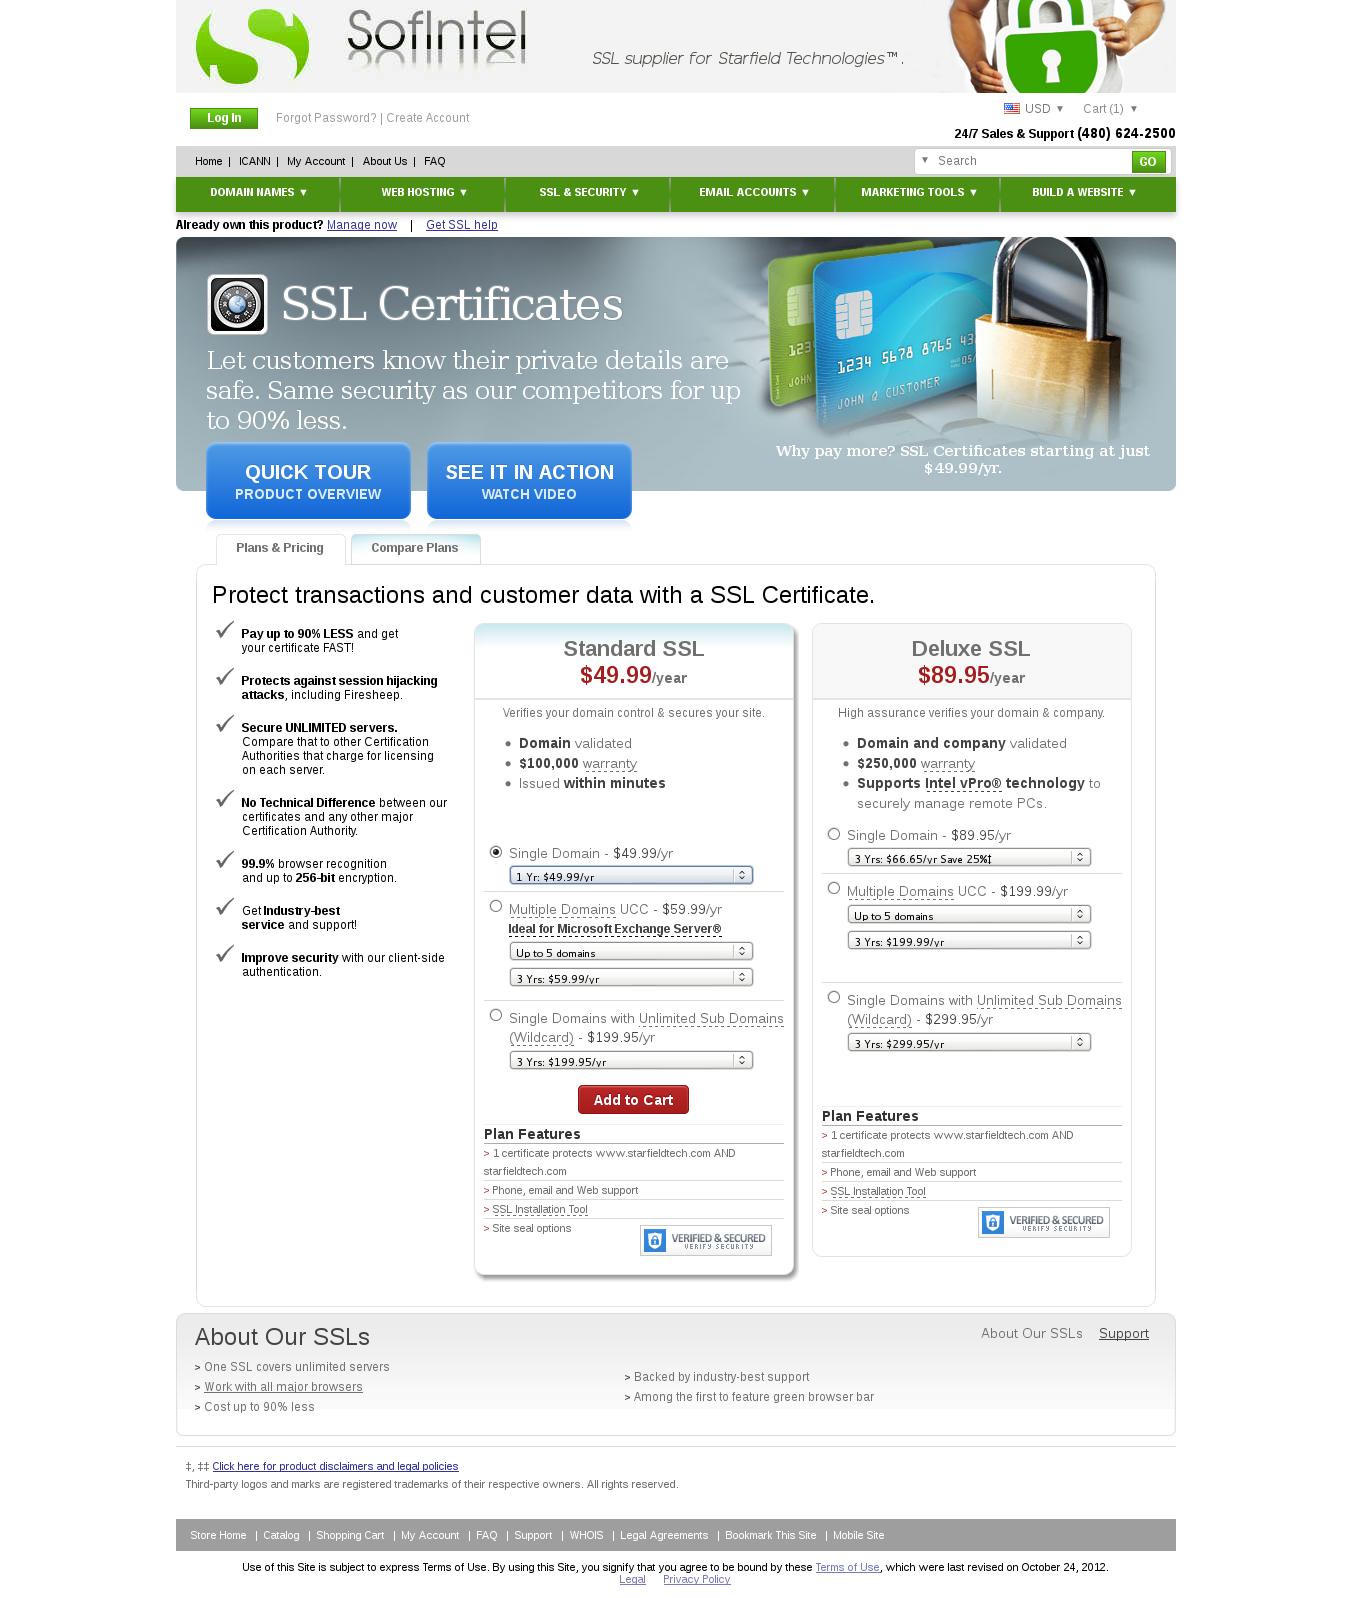
- Under ecommerce.sofintel.net portal, select your SSL options and click on Add to Cart button.
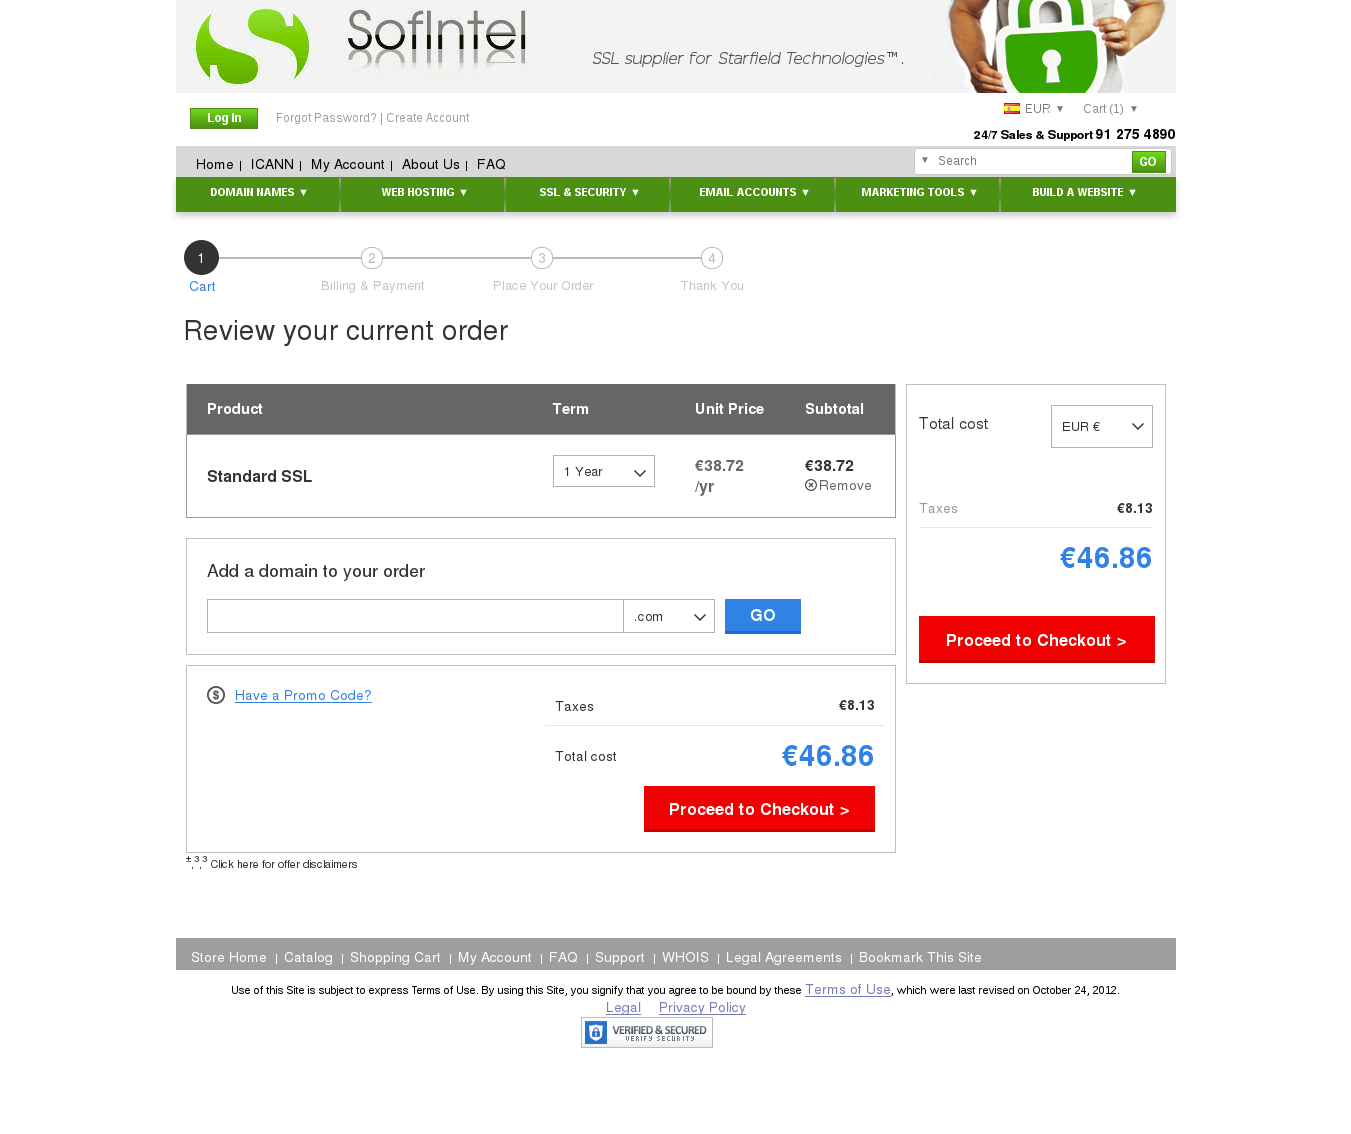
- If you need a domain, you can add it to the cart now, but is not necessary. Click on Proceed to checkout button.
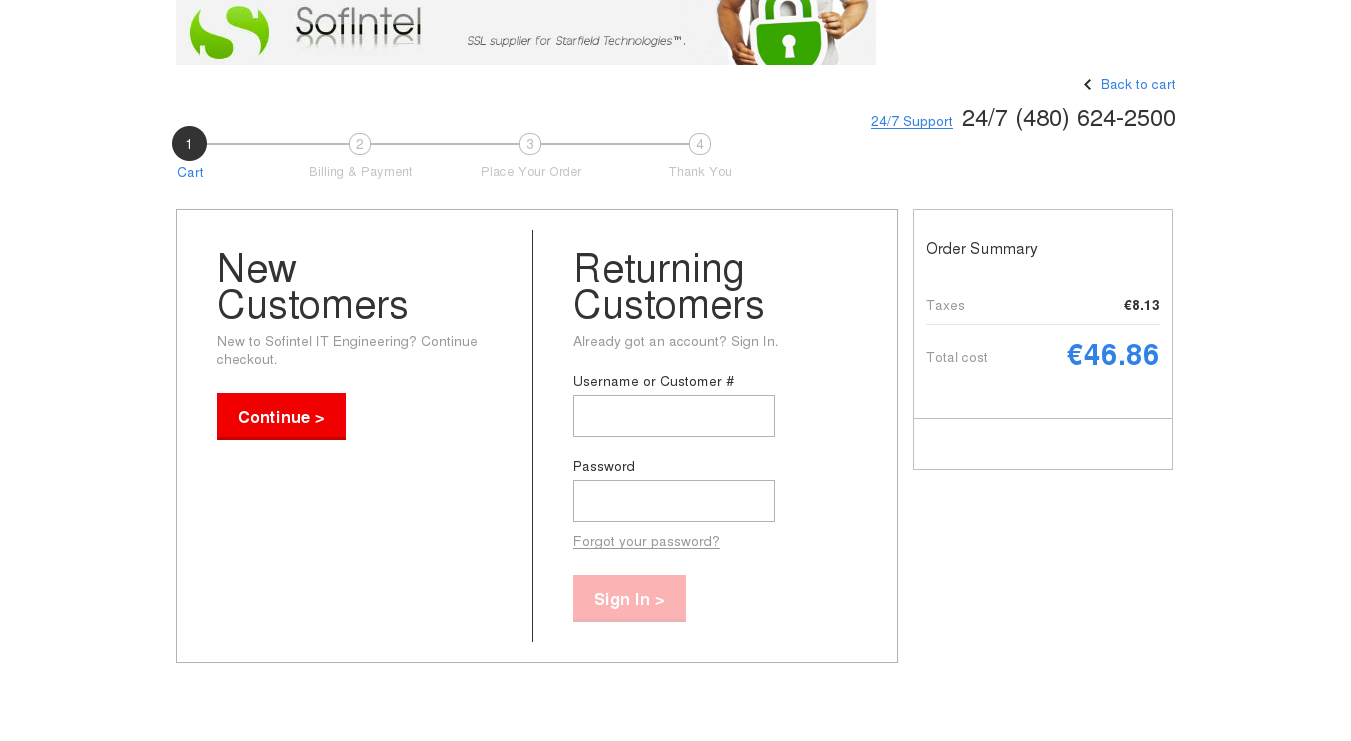
- If you are a new customer, register now clicking on Continue button, otherwise type your account data and click Sign in button.
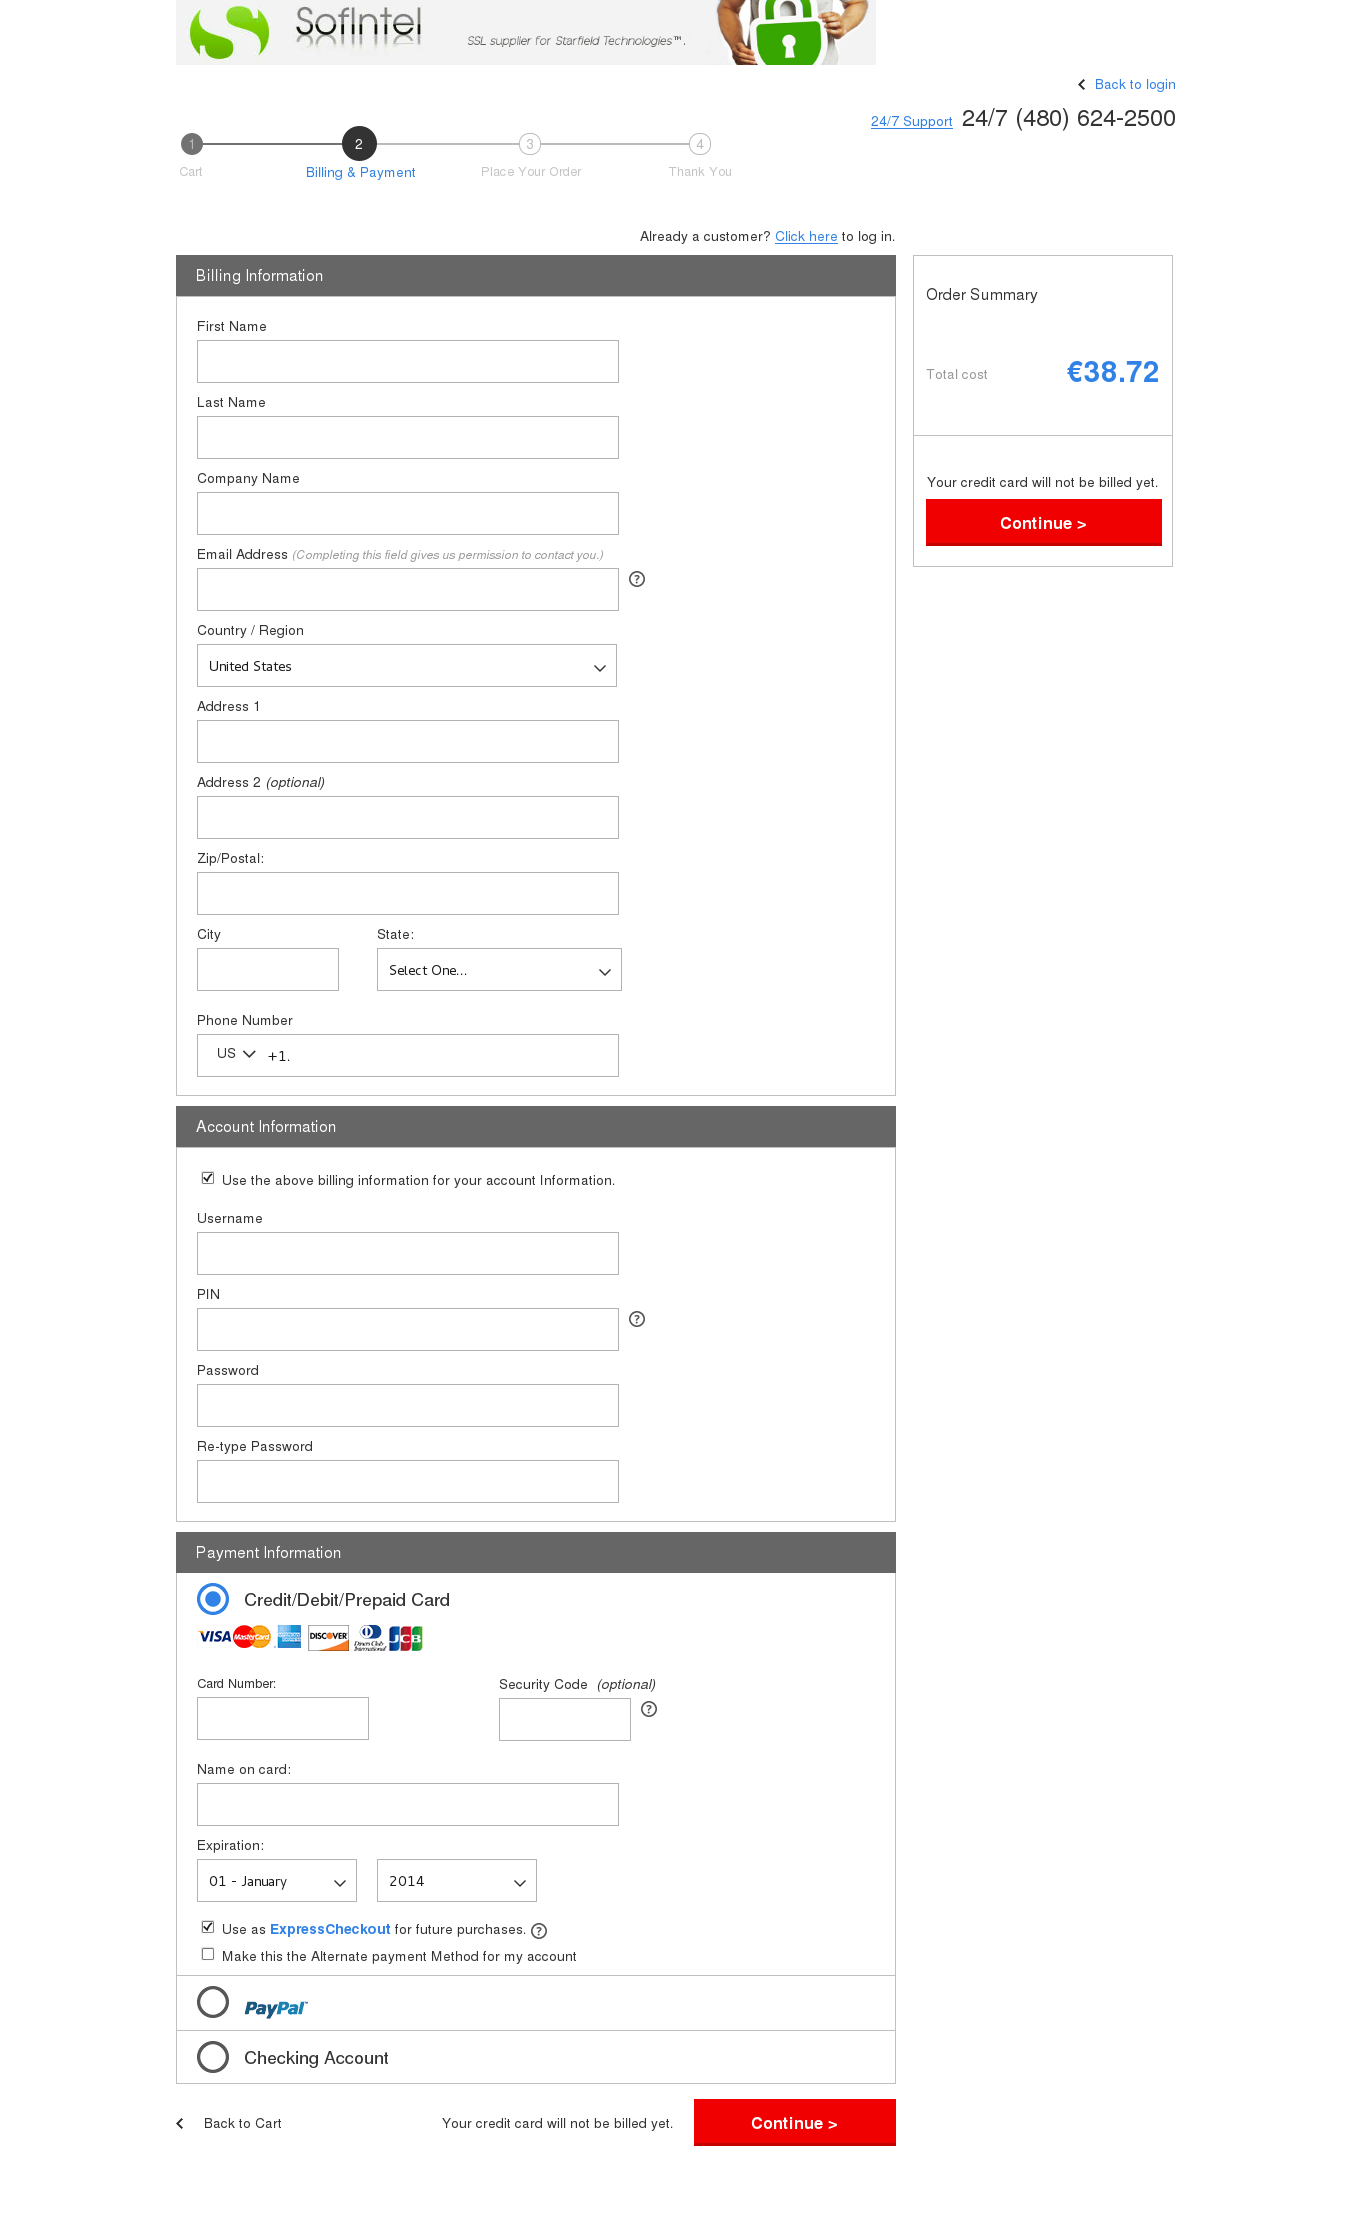
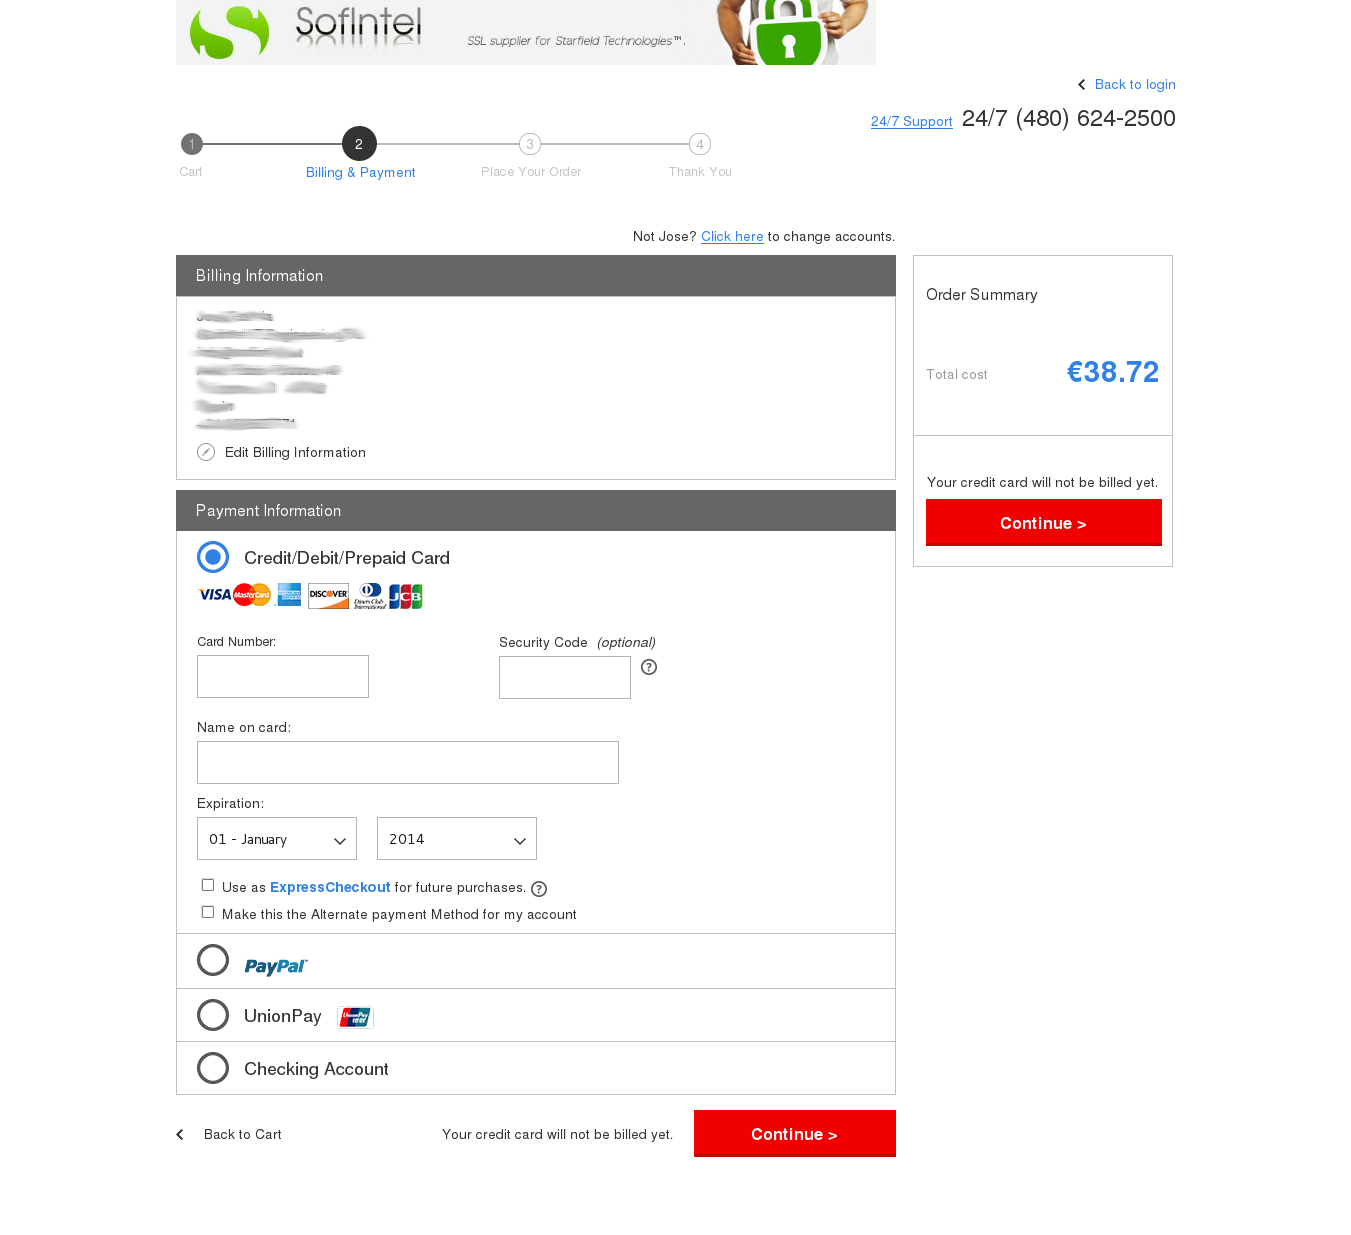
- If you are a new customer, add your Billing, Account and Payment information and click on Continue button.
- If you are a customer, add only Payment information and click on Continue button.
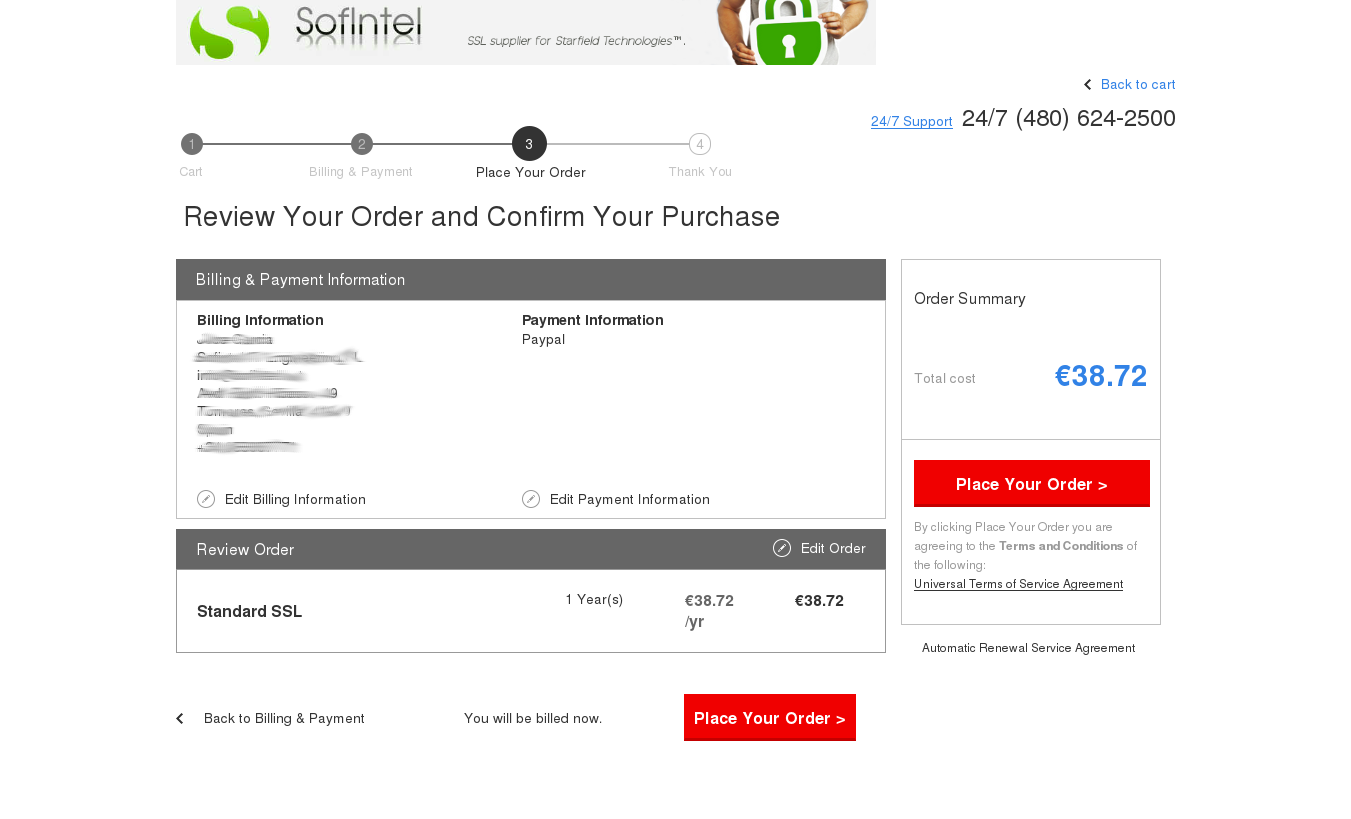
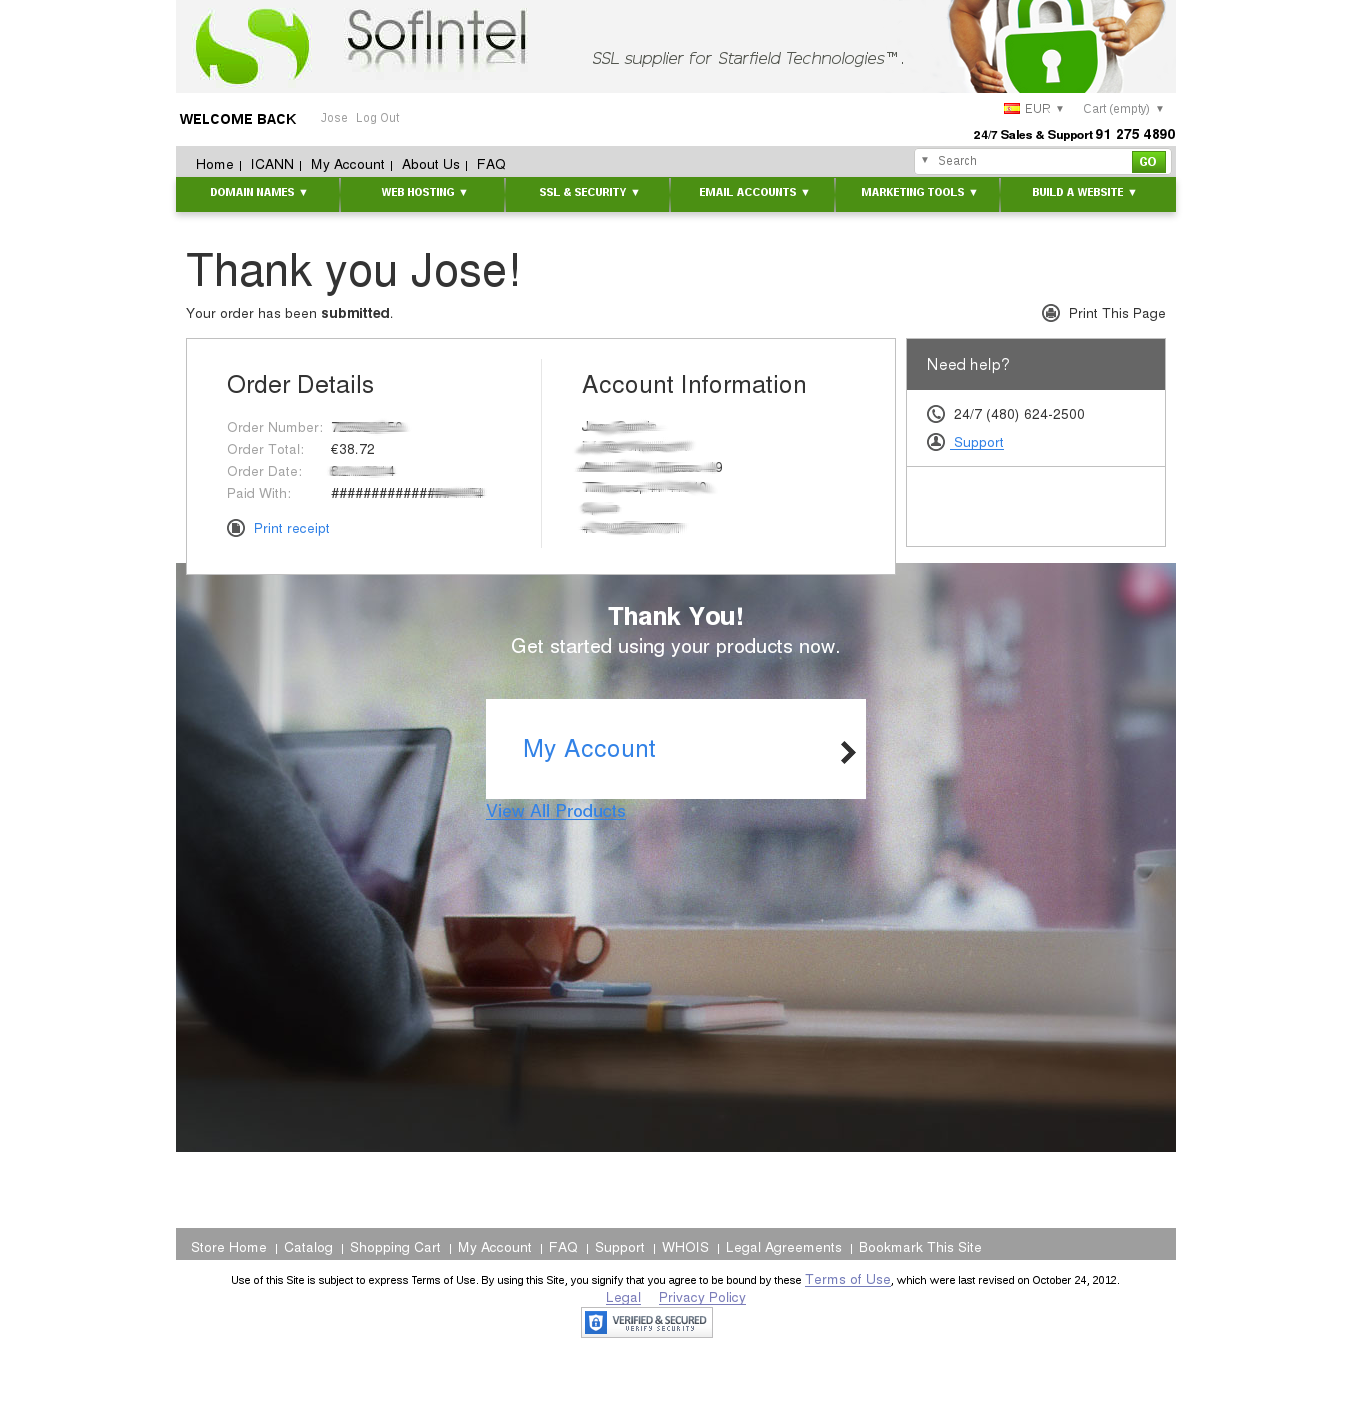
- Now you will get a payment confirmation. Click on Place Your Order if all its right.
- You have just buy a certificate. You can access now to your account and set it up clicking on My Account.
SET UP THE CERTIFICATE
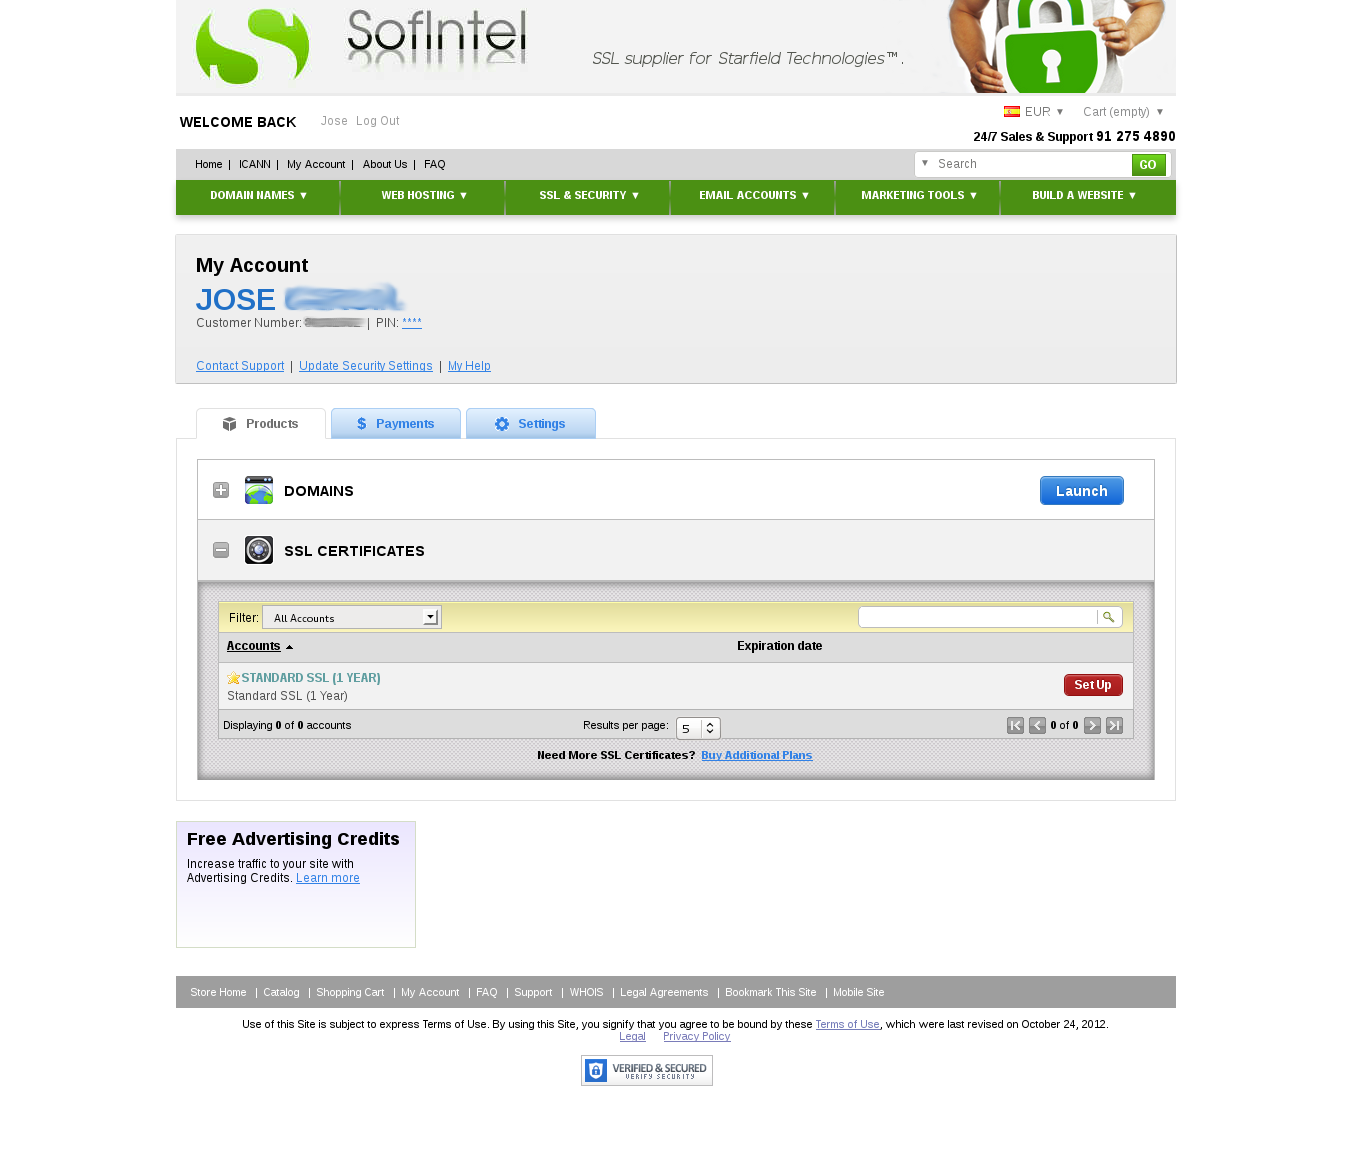
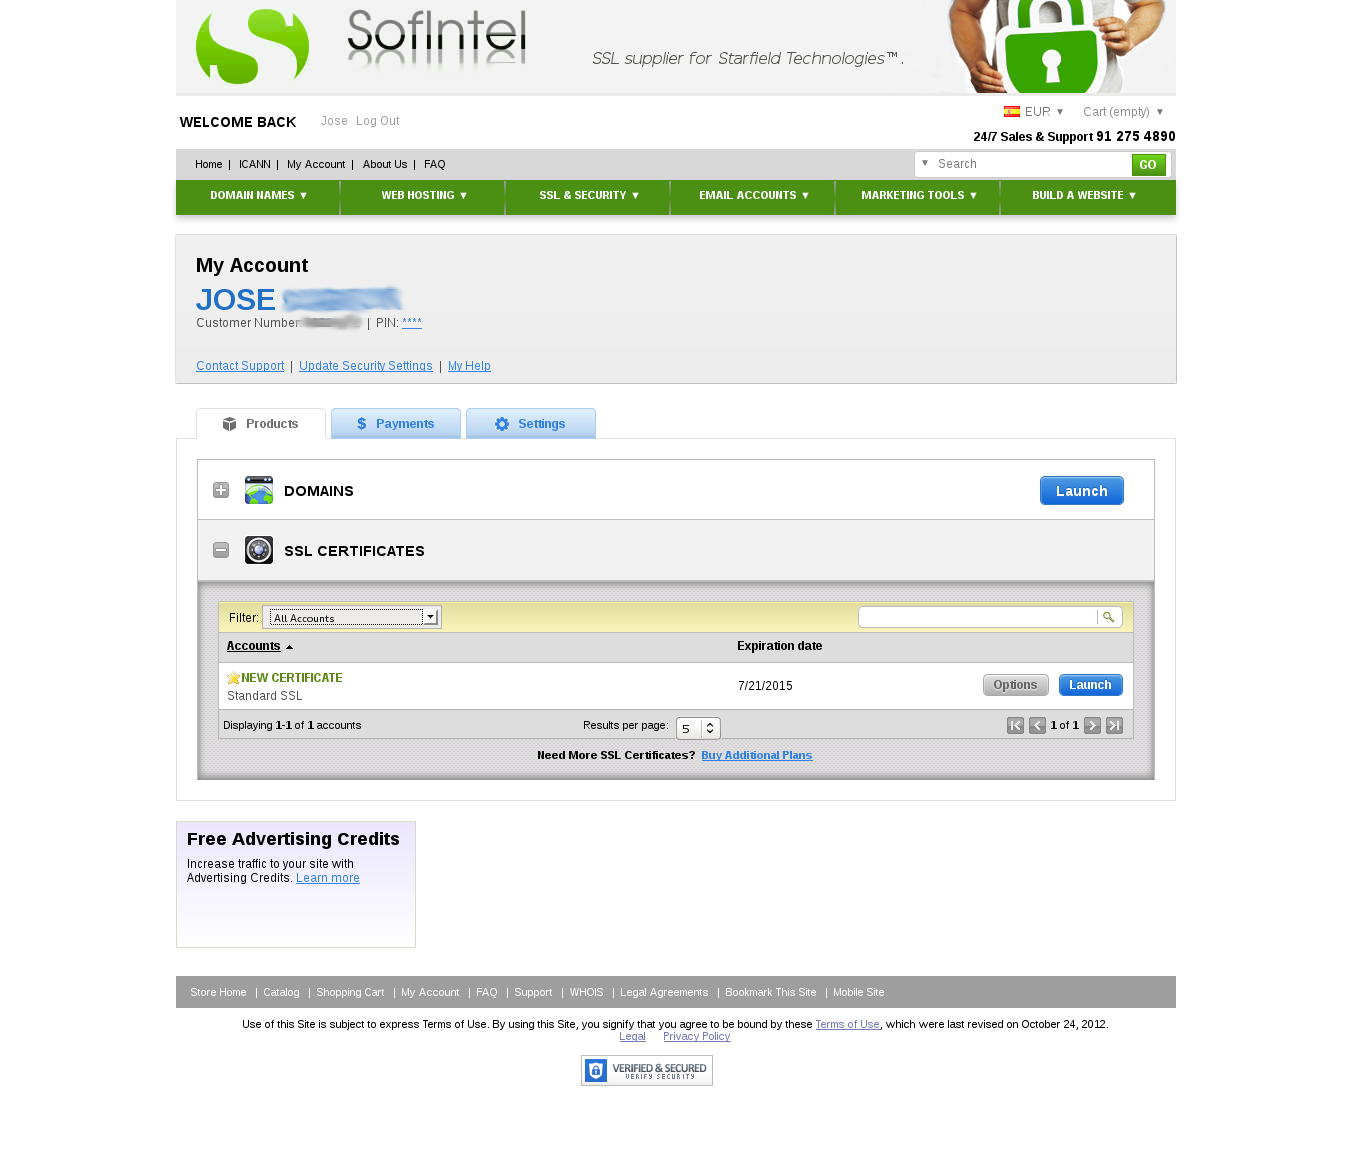
- Under My Account, click on Products, SSL CERTIFICATES. You will find there your new certificate. Click on SETUP button.
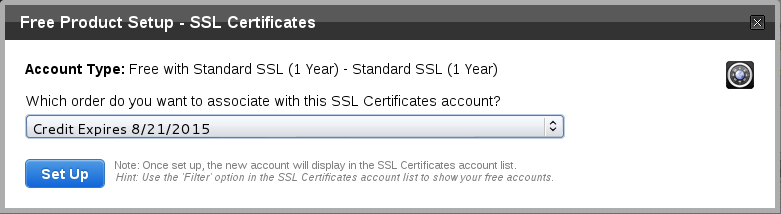
- Confirm the order which you want to associate with the SSL certificate in the pop-up window clicking on SetUp button.
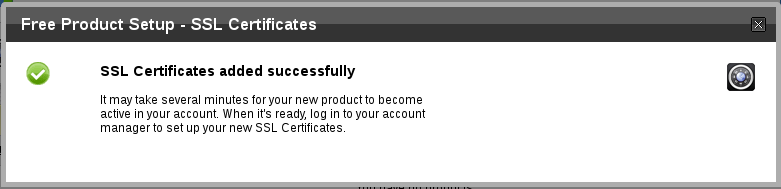
- You will get a confirmation message like this:
LAUNCH THE CERTIFICATE
- Under My Account, click on Products, SSL CERTIFICATES. You will find there your new certificate. Click on LAUNCH button.
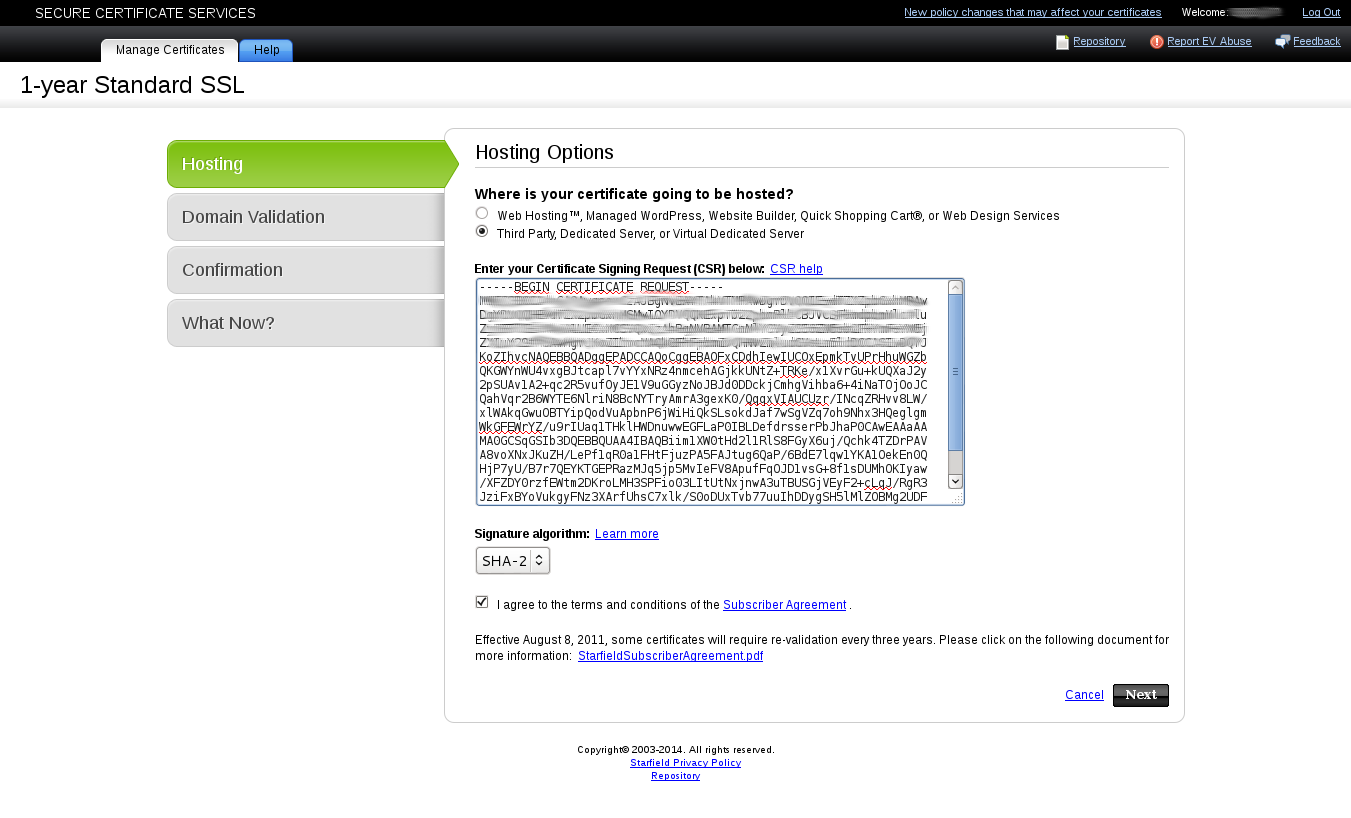
- Now you will be redirected to the Starfield Technologies SSL Certificates Wizard, there select the Third Party, Dedicated Server, or Virtual Dedicated server. In the previous section, you were advised to copy the content of your CSR. Now we need to do it. Paste it in the text area of the wizard form. Accept the terms and conditions and click on Next button.
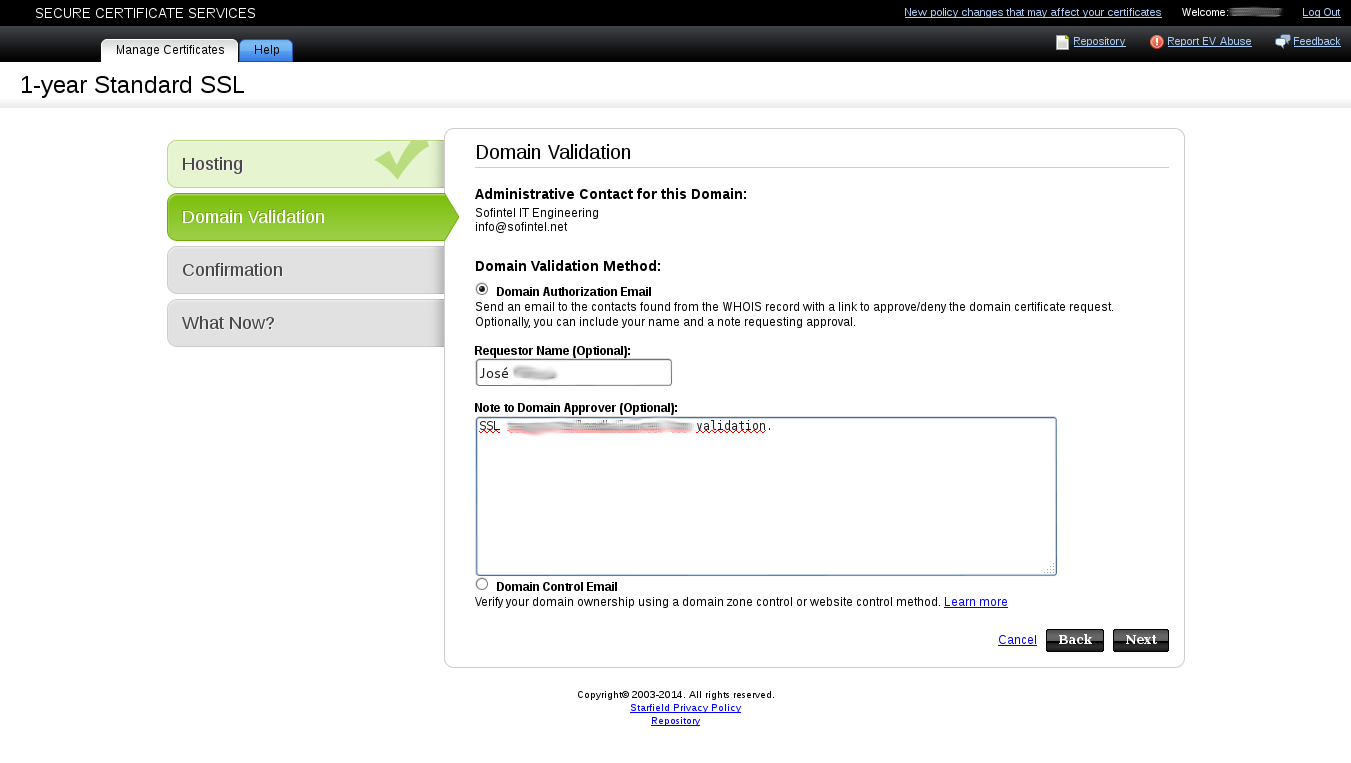
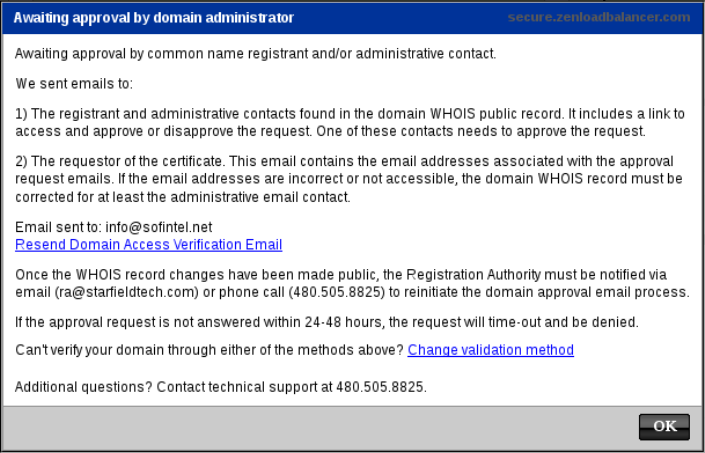
- Now you need to select the validation method. Here you can see how to do it through a Domain authorization Email. If you need it, you can select Domain control Email instead. Click on Next button.
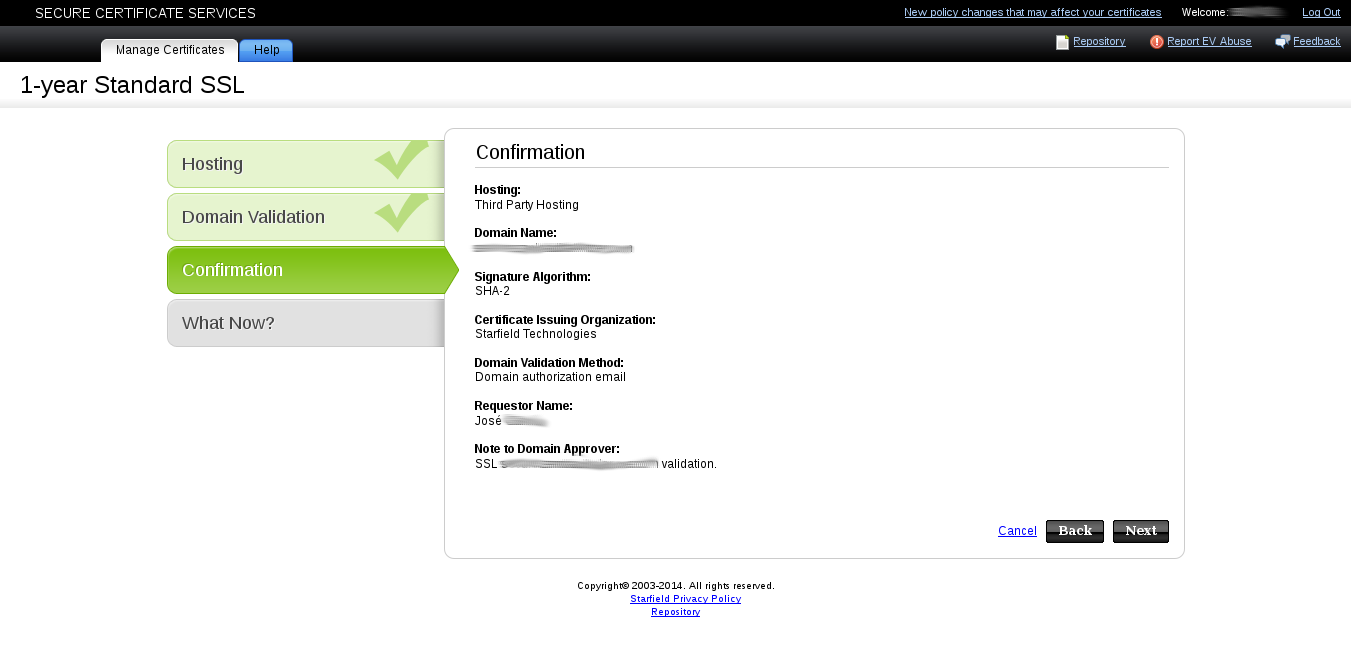
- Now you need to confirm your data. Click on Next button.
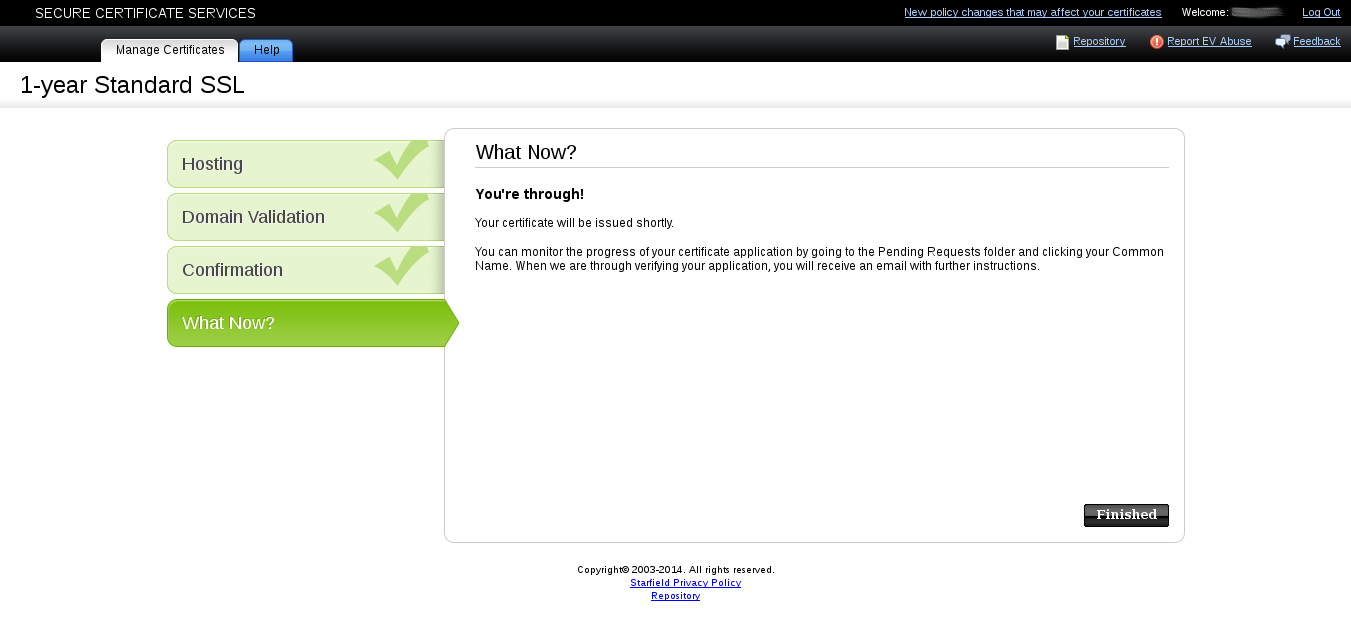
- The What Now page is shown. Read it and click on Finished button.

DOMAIN ACCESS VERIFICATION
- Starfield Technologies will send you a mail with the next text:
- Dear Secure Certificate Customer,
We have received a Certificate Signing Request for the following domains:
xxx.yyyy.com
The following information was provided by the requestor at the time of the request for your reference.
Requestor Name: José xxxxxx
Note for Approver: SSL xxx.yyyy.com validation.
Our query of the Whois database returned your name as the administrator for the domain in the certificate request.
In order to verify the validity of this request and that it was submitted by the entity to which the domain in the request is registered, please signify your final approval or disapproval of the certificate request by clicking the link below.
https://certs.starfieldtech.
com/anonymous/domainapproval. pki?vk=aaaaaaaaabbbbbbbbb Approval of the request will enable us to continue processing your request. Failure to approve the certificate request will lead to denial of the request.
If the above address does not appear as a clickable link, cut/copy and paste it into your browser’s address bar.
If the Verification Page requests it, please use the following Verification Key: aaaaaaaaabbbbbbbbb
This part of our authentication process serves to ensure that only the entity/individual that controls the domain in the request can obtain a certificate for that domain.If you have any trouble or questions, contact us and let us know. We are available to help around-the-clock, seven days a week.
Customer Support:
E-Mail: ra@starfieldtech.com
Phone: 480.505.8825
Fax: 480.393.5009For further information, log in to your account at https://certs.starfieldtech.
com .
- Dear Secure Certificate Customer,
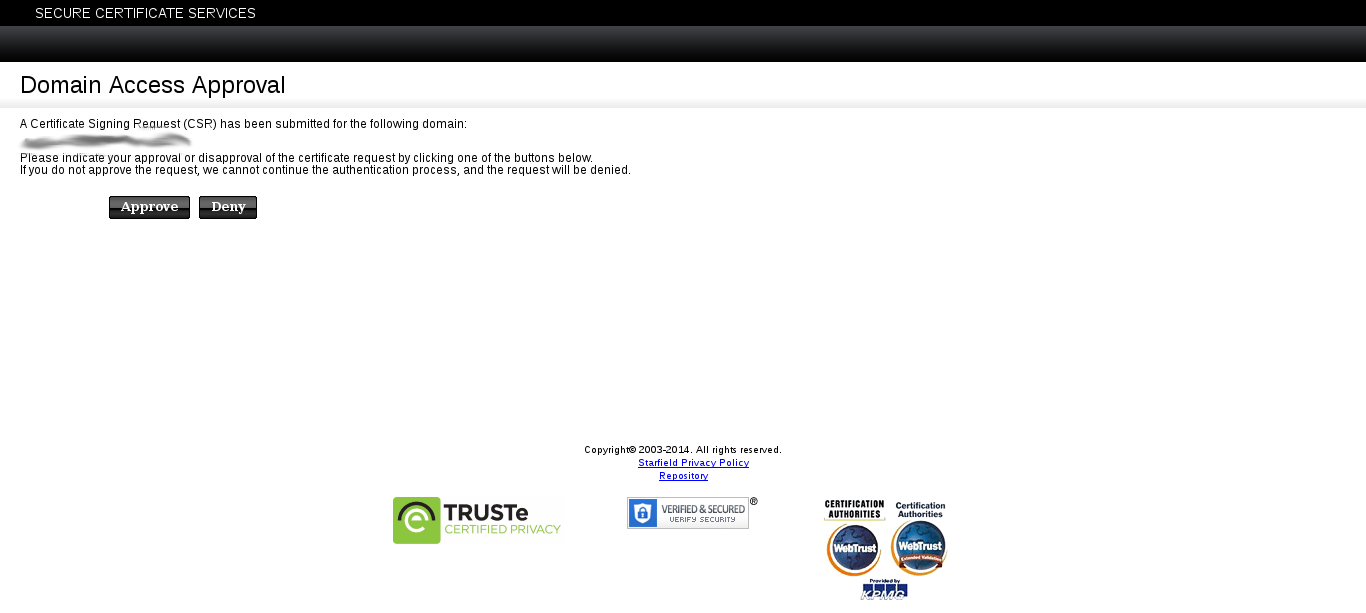
- The Domain Access Aproval page is shown. Read it and click on Aprove button.
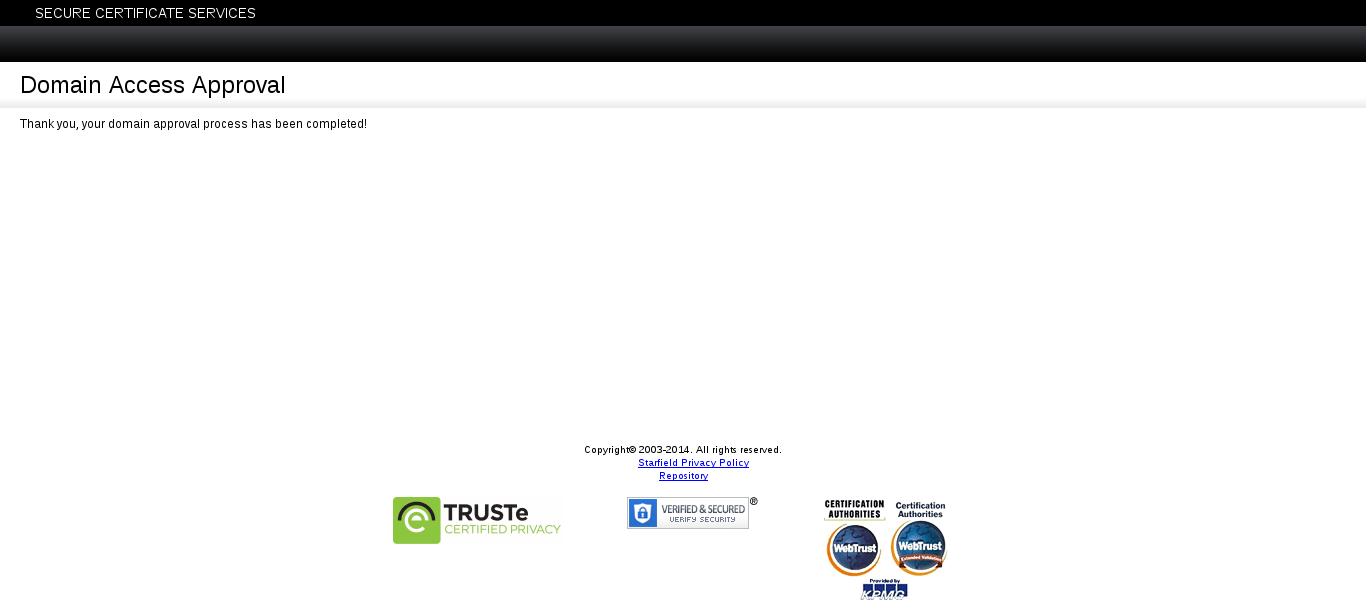
- Now you will see the Domain Access Aproval Confirmation.
- Close this page and look into your e-mail again. Starfield Technologies will send you a new mail with the confirmation:
- Dear Secure Certificate Customer,
Your domain’s administrator has approved your certificate request for the domain /xxx.yyyy.com. We will now continue the authentication process.
Go to our SSL site at https://certs.starfieldtech.
com/home.pki?AccountUid= and log in to your account to check the status of your certificate request(s).cccccccccdddddddddddd- cccccccccdddddddddddd If you have any trouble or questions, contact us and let us know. We are available to help around-the-clock, seven days a week.
Customer Support:
E-Mail: ra@starfieldtech.com
Phone: 480.505.8825
Fax: 480.393.5009For further information, log in to your account at https://certs.starfieldtech.
com .
Click on the account link.
- Dear Secure Certificate Customer,
Click on the validation link.
DOWNLOAD THE CERTIFICATE
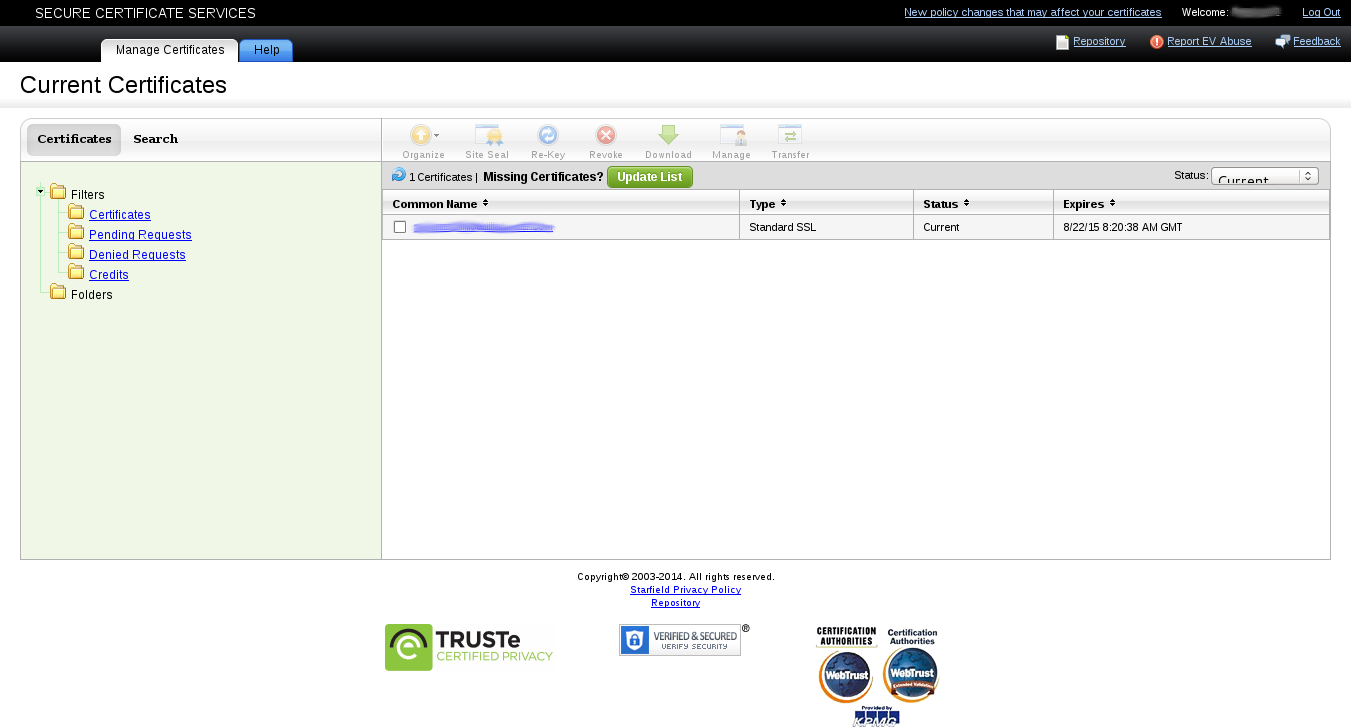
- The Starfield Technologies Control Panel will be opened, and you will see your certificate in current status.
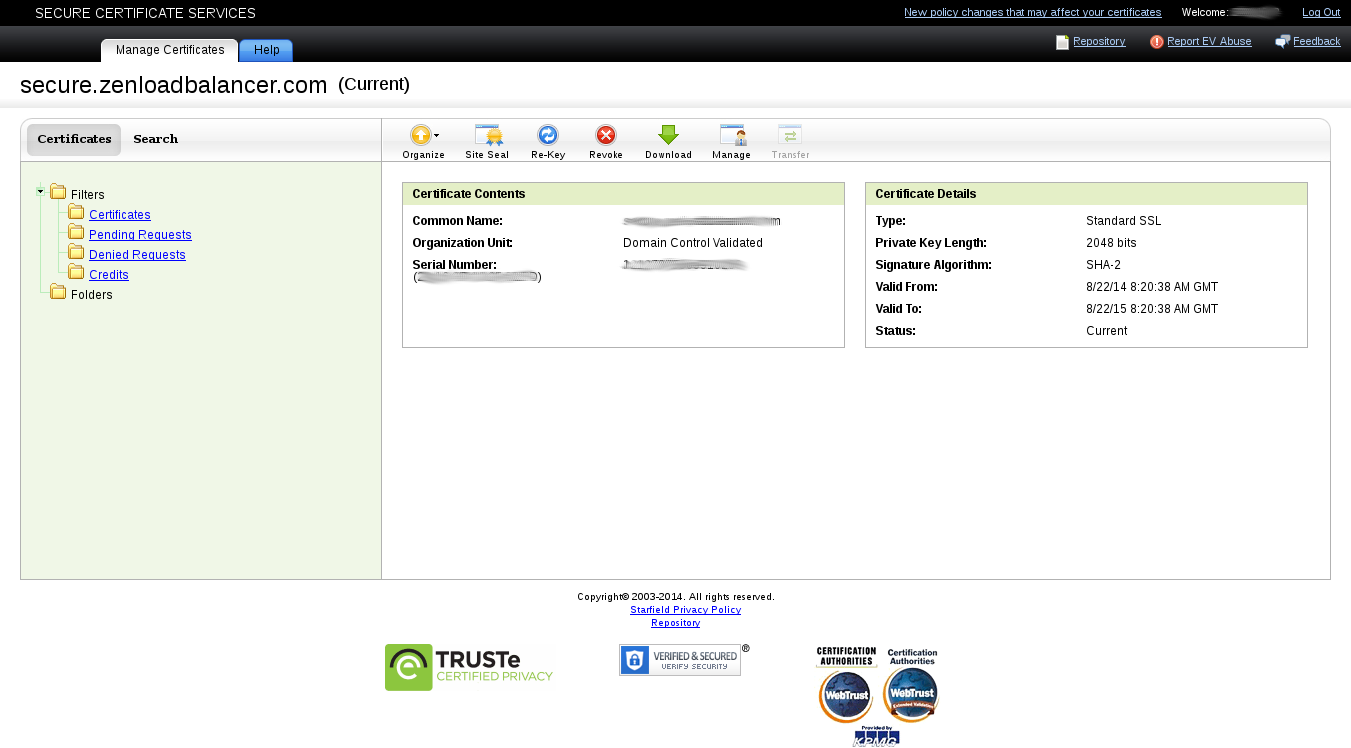
- If you click on the certificate, you will see the info page. Now the Download button is available. Click it.
- A pop-up is deployed. In the Server Type select Other and click the Download button.
- A .zip file is provided. Save it and use it in the next section.

LOAD THE CERTIFICATE INTO ZEN LOAD BALANCER
In the previous section we saw how to get a certificate created from our CSR. Now we have to upload that certificate to the Zen Load Balancer to can use it in a HTTP farm.
- Launch the Zen Load Balancer web GUI.
- Under Manage menu, select Certificates.
- Look for our previously generated CSR in the Certificates Inventory table, select Upload Certificate.
- A new pop-up window is open. Browse your previously downloaded .zip certificate file and click on Upload button.
Now the CSR file is substituted by the .pem file in the Certificates Inventory table, and its ready to be used in an HTTP farm.