INSTALLATION PROCESS
This section details the ZenLB Enterprise version installation process.
Configure your physical or virtual x86 machine in order to boot from your ISO/CDROM/USB Zen Load Balancer installer. Then a splash is going to be loaded to start the installation process.
Zen Load Balancer is distributed under a standard ISO format built on top of a common GNU/Debian Linux stable distribution. If you’re familiar with such distribution then you should have no problems installing ZenLB.
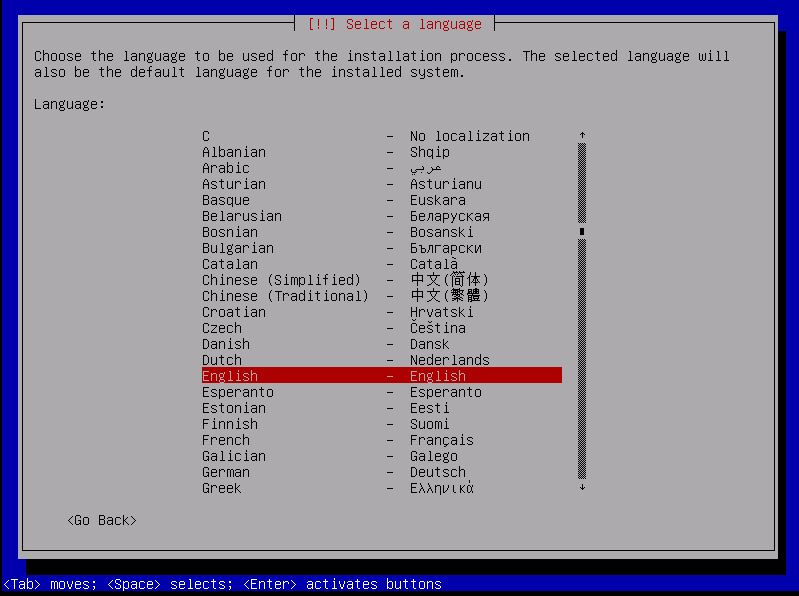
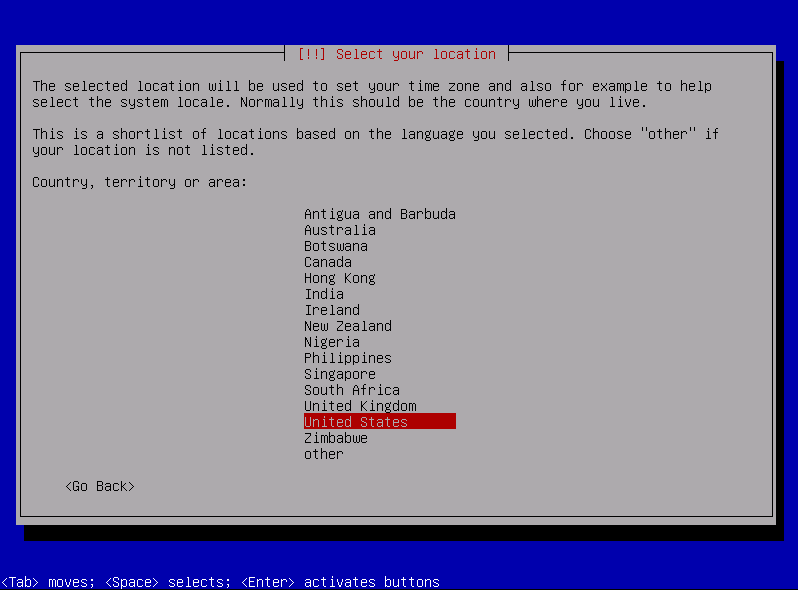
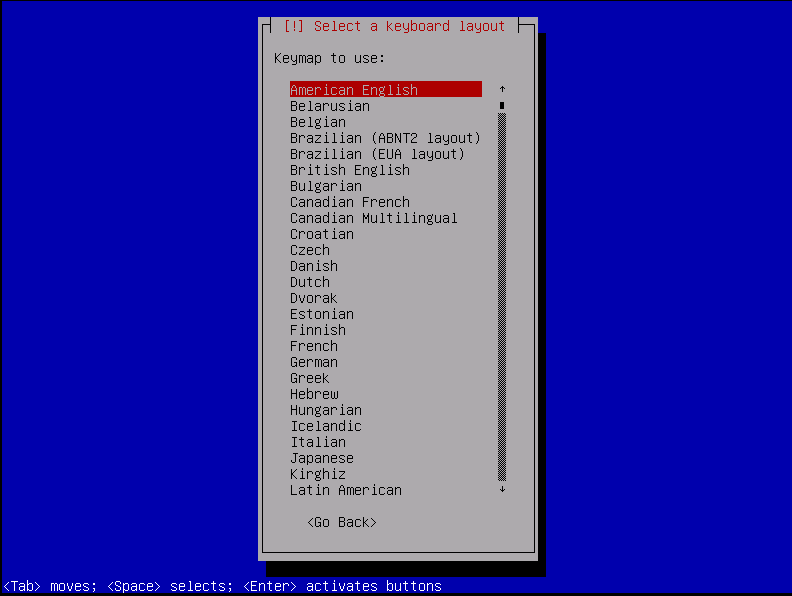
Select your language, location and keyboard map.
Later, the installer is going to detect the hardware components and to load additional software components. Just wait few seconds.
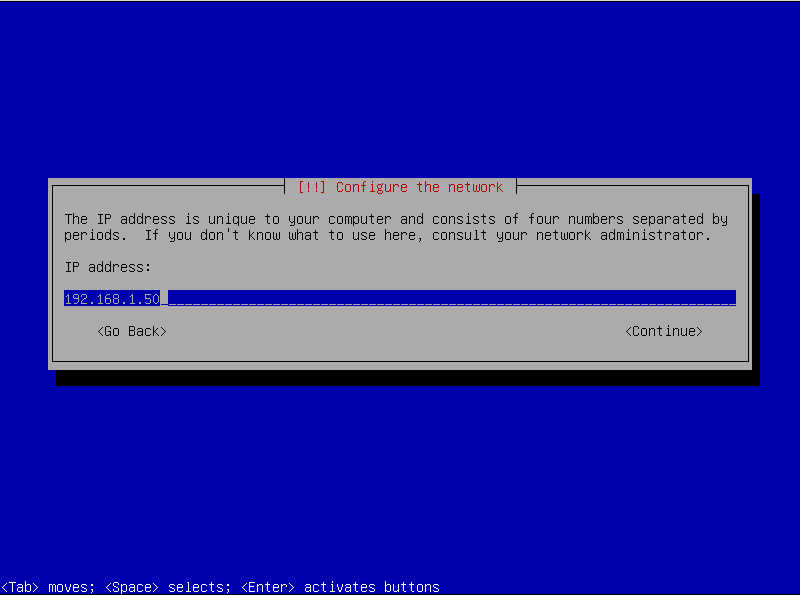
Then the installation process will configure the network interface, you must set up a static IP address that it’s going to be used in the startup to access to the Zen web administration panel. Additional configuration info like netmask, gateway and dns server will be requested along the installation process.
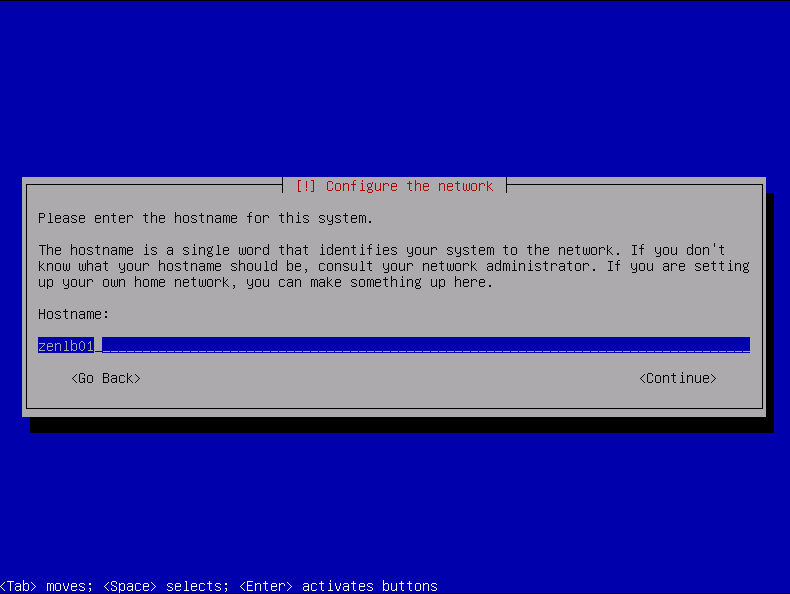
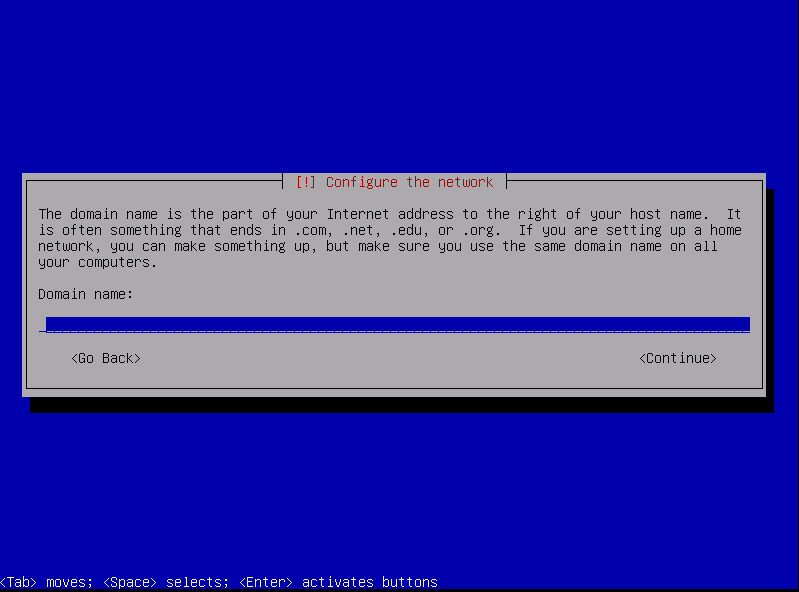
Set up a hostname for the load balancer and the domain name for your organization.
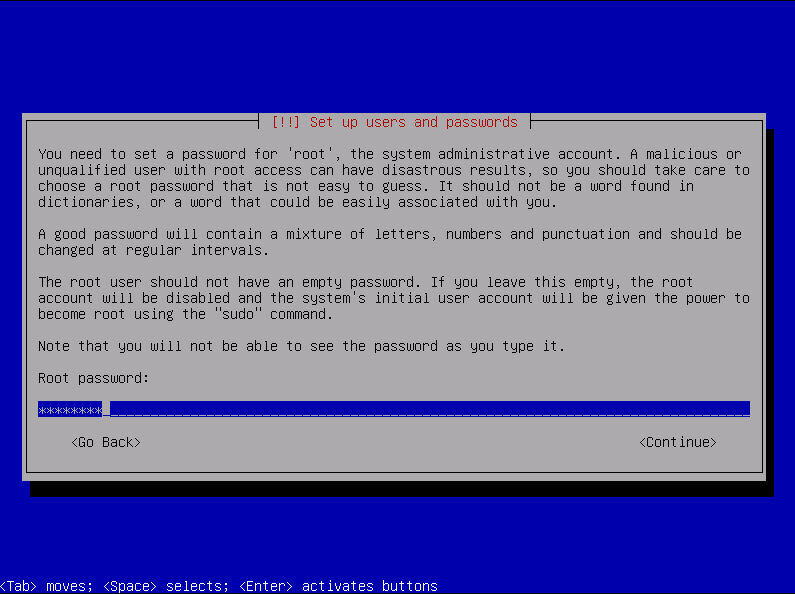
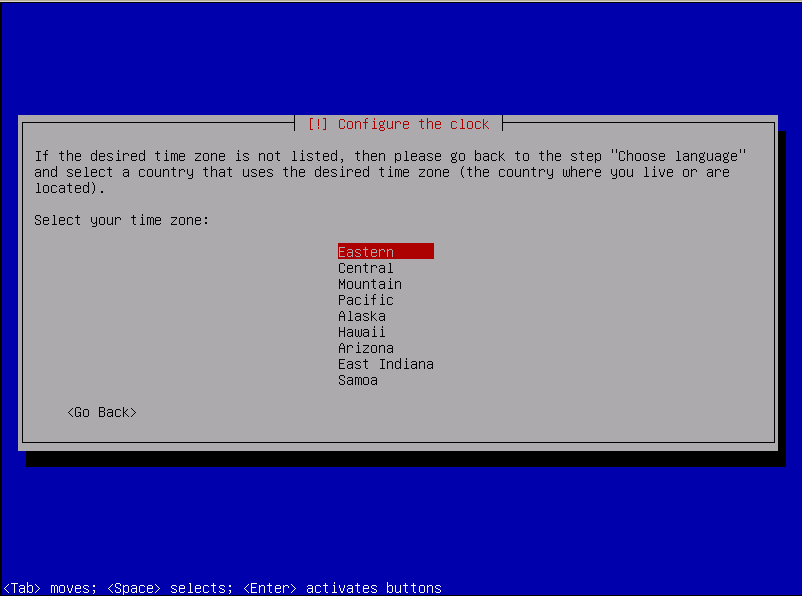
Insert the root system password and repeat in order to validate it. This password will be used when you access through a console or ssh to the Zen Load Balancer system. Additionally set your timezone, once Zen LB is installed the local time will be synchronized every hour with ntp.pool.org servers.
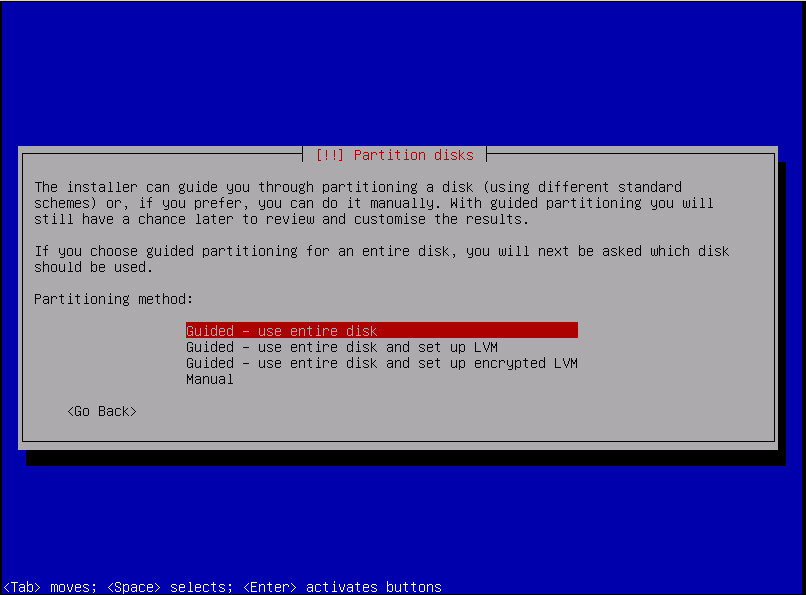
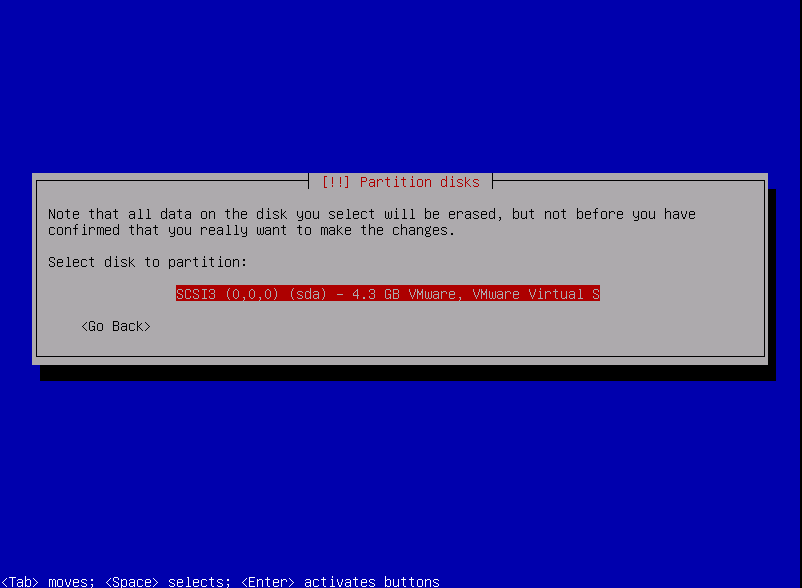
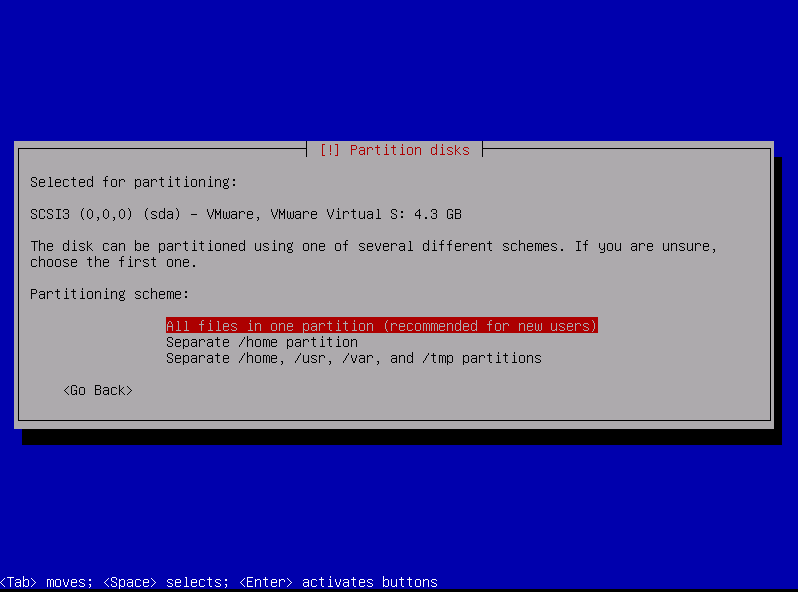
Configure your disk partition, if you aren’t experienced with Linux environment you can select “Guide – use entire disk” and the system will be installed automatically with a default disk configuration. This is the configuration selected as a sample in this guide. Experimented users could select their custom installation. It would be interesting to know that a special disk space is not needed to work with Zen Load Balancer, although minimal recommended is 1 GB of free space for the whole operating system. For more than one single disk on your machine could be selected one of them here to be installed.
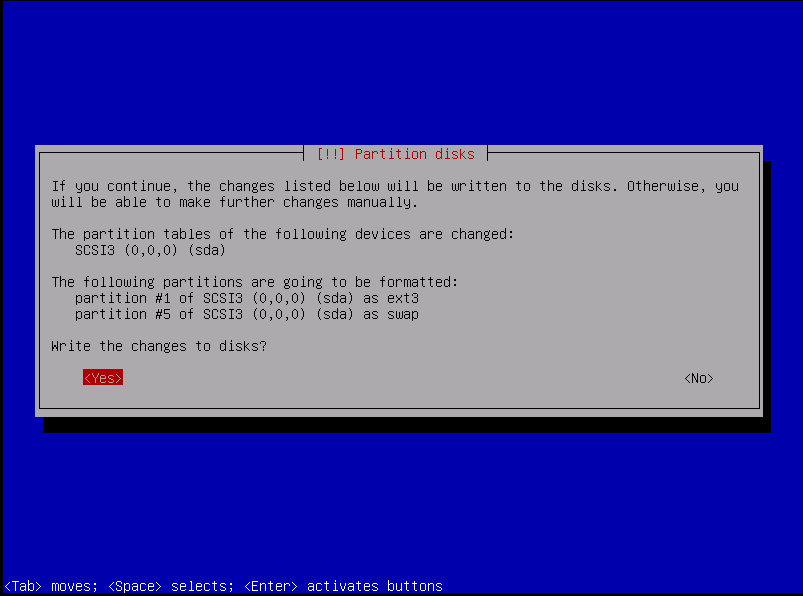
The partition table is able to be modified through the following menu. Then select Finish and continue with the installation.
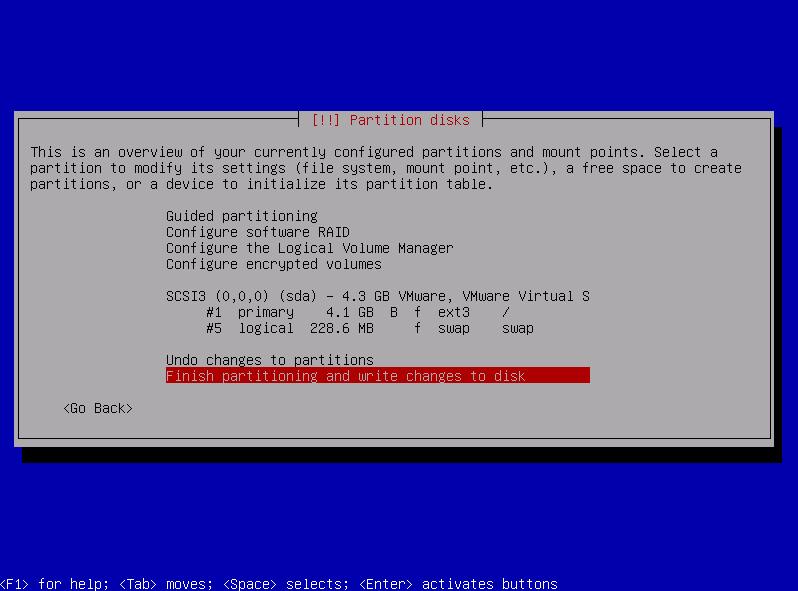
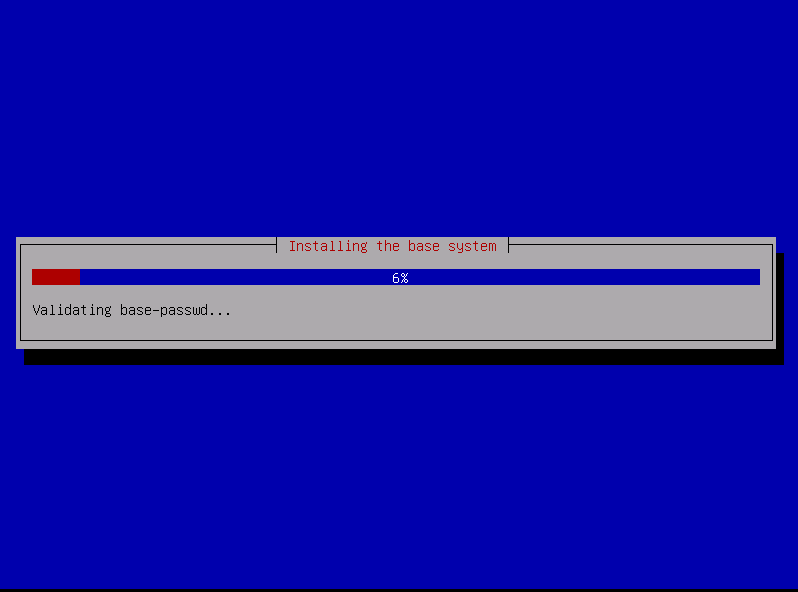
Select Yes to confirm the changes and continue. Please wait some seconds while the system is installed in your disk.
At this point you’ve your fresh new ZenLB installation and finally it would be necessary to restart the system. On the boot process will be shown your management IP address configured once the system is started.
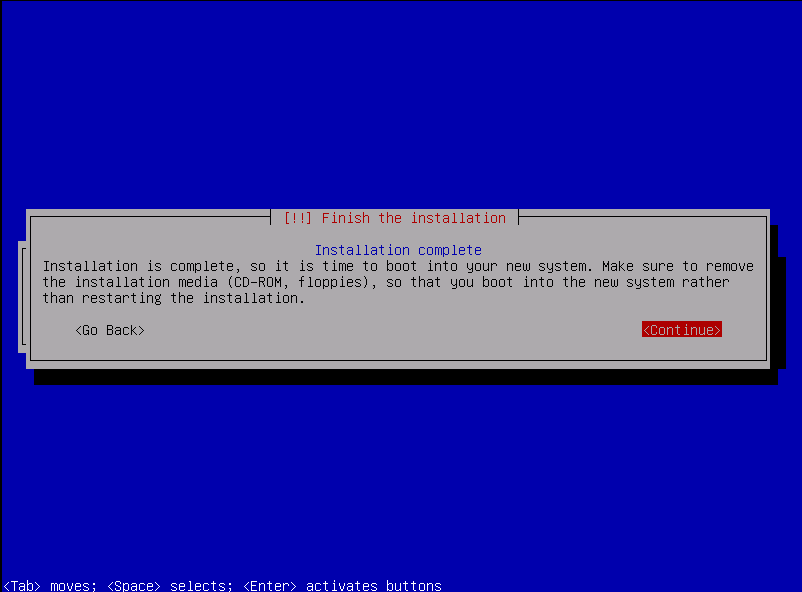
The configured root password on the installation process would be needed to login into the system via ssh or console.