Create Blacklist
Creating a customized blacklist will configure a set of IP addresses and subnets that are specific to your infrastructure, and need a Deny or Allow policy.
To create a new blacklist, go to the IPDS > Blacklists section, and select the Create Blacklist option.
The required fields to create a new blacklist are:
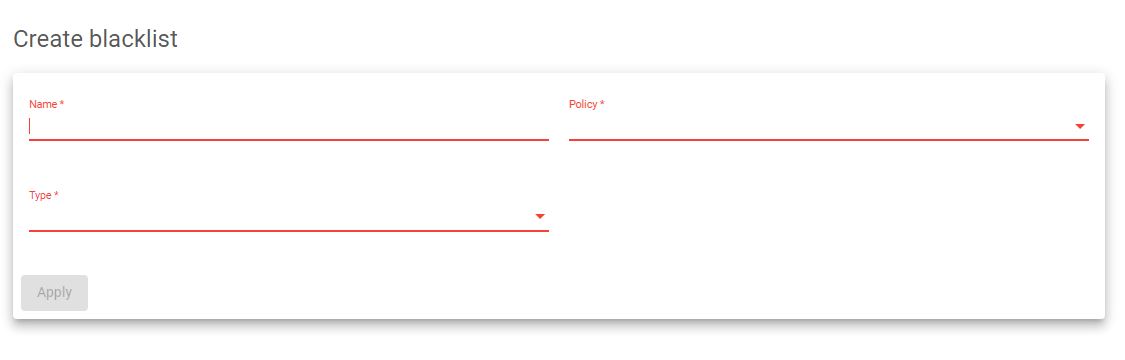
Name. Blacklist descriptive name.
Type. Whether the list is obtained from a Local or Remote location. Remote would require an URL to download the list.
Policy. Deny or Allow. Deny for blacklists and Allow for whitelists.
Url. This field is only shown if the type selected is Remote, and will be used to set the URL of the remote blacklist that will be automatically downloaded and updated.
Once the required fields are set, click on the CREATE button to generate the new blacklist. Different configuration fields will appear on the next screen depending on the field type configured. You’ll find a detailed explanation in the next section.
Next step, Configure your Blacklist.